

The Turtle V – Update #6 – The Camper Part 1 – 2019
The Turtle V Expedition Camper
A One-of-a-Kind Build
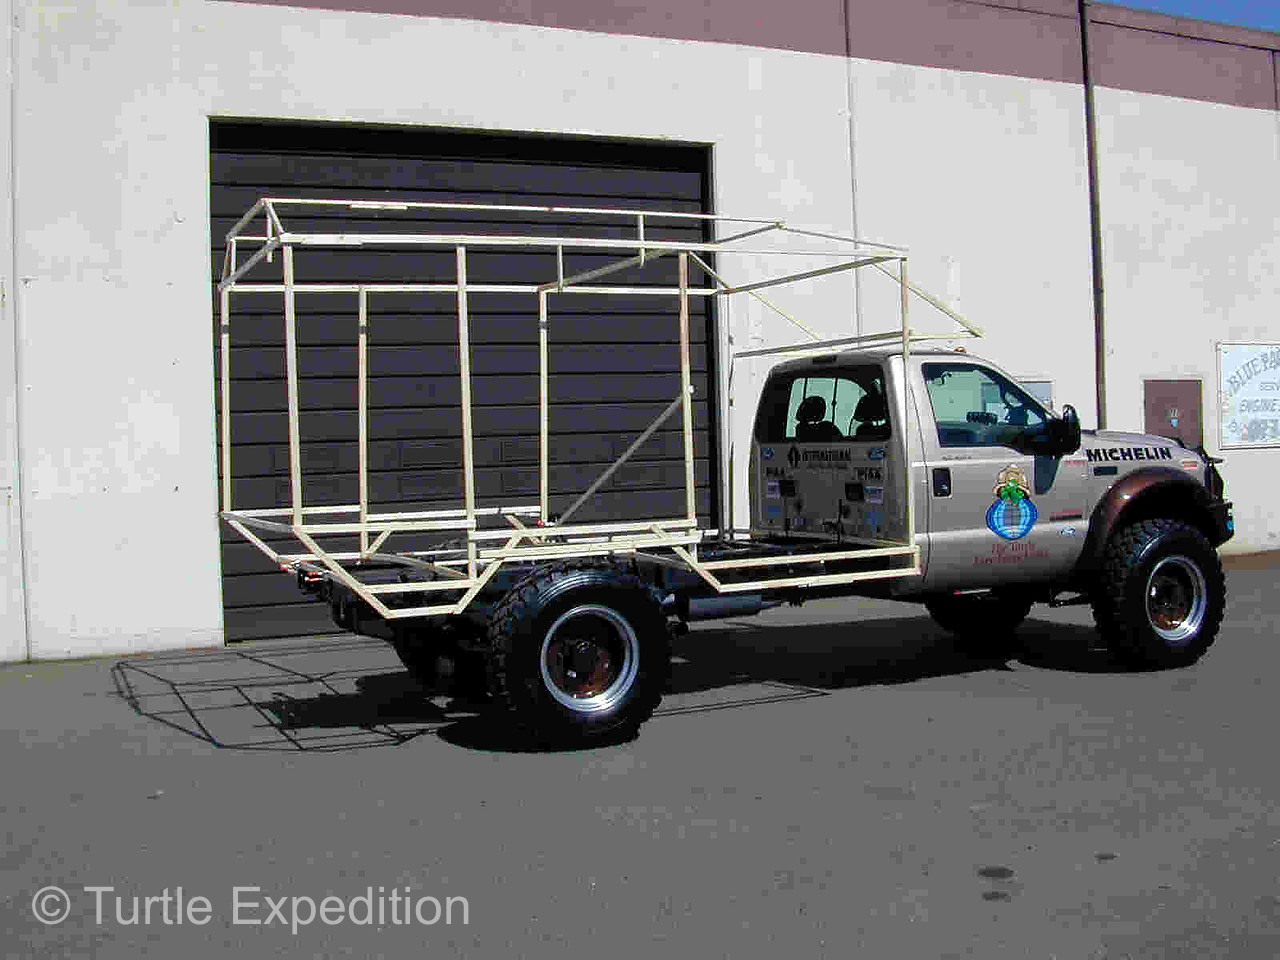
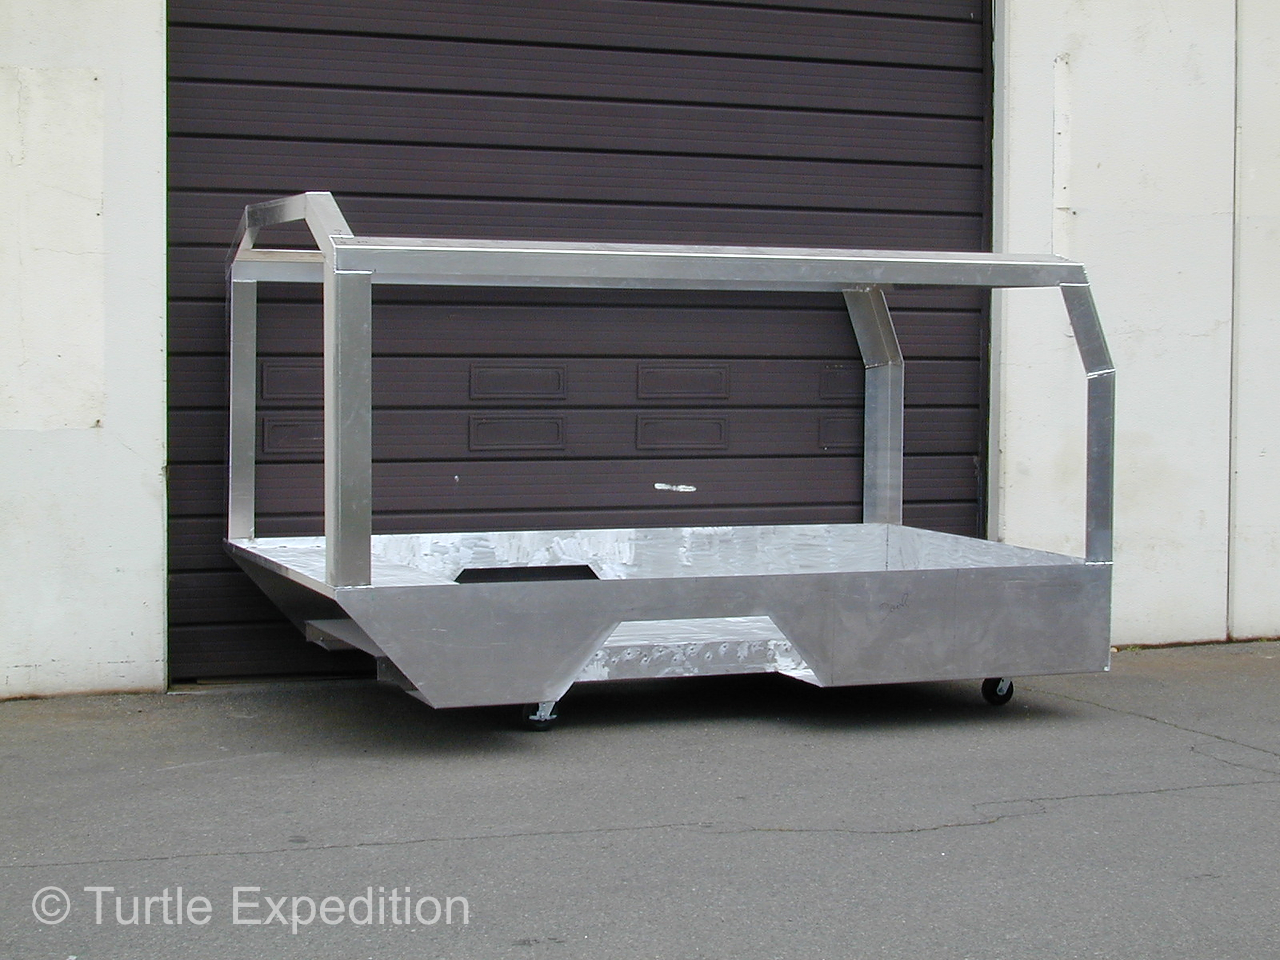
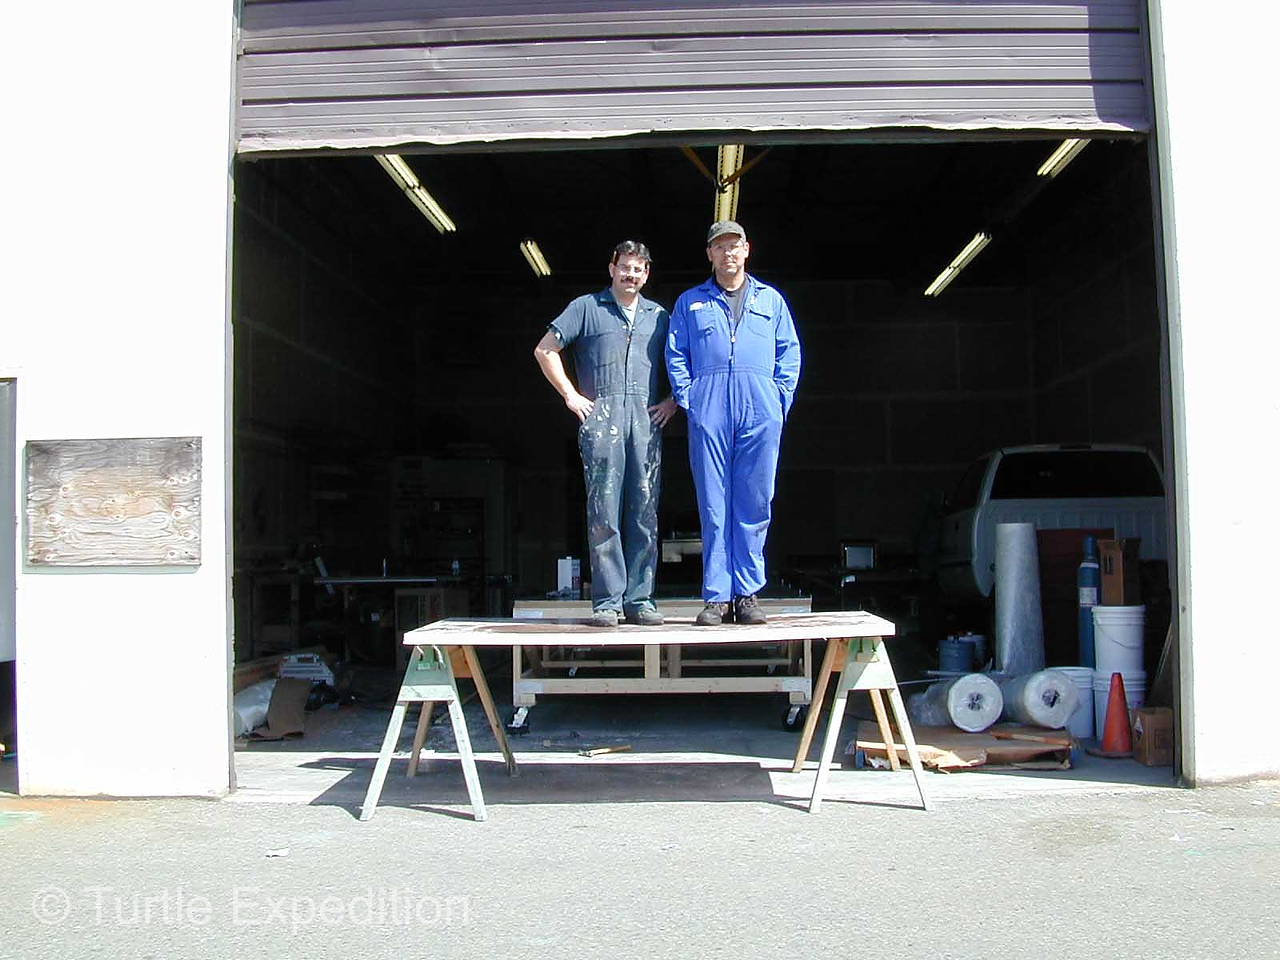
After constructing a wood prototype—stick and staple—an aluminum exoskeleton was fabricated and welded at all joints. Inside this exoskeleton, 1 ½ “ panels of honey-comb Nida-Core were hand laid with fiberglass and attached to the aluminum frame with marine Sikaflex adhesive, secured with marine pop rivets where needed. All cabinets and other accessories, both inside and out, were attached to the Nida-Core walls using Yardley brass nut-certs and 3M EPX 2-part epoxy.
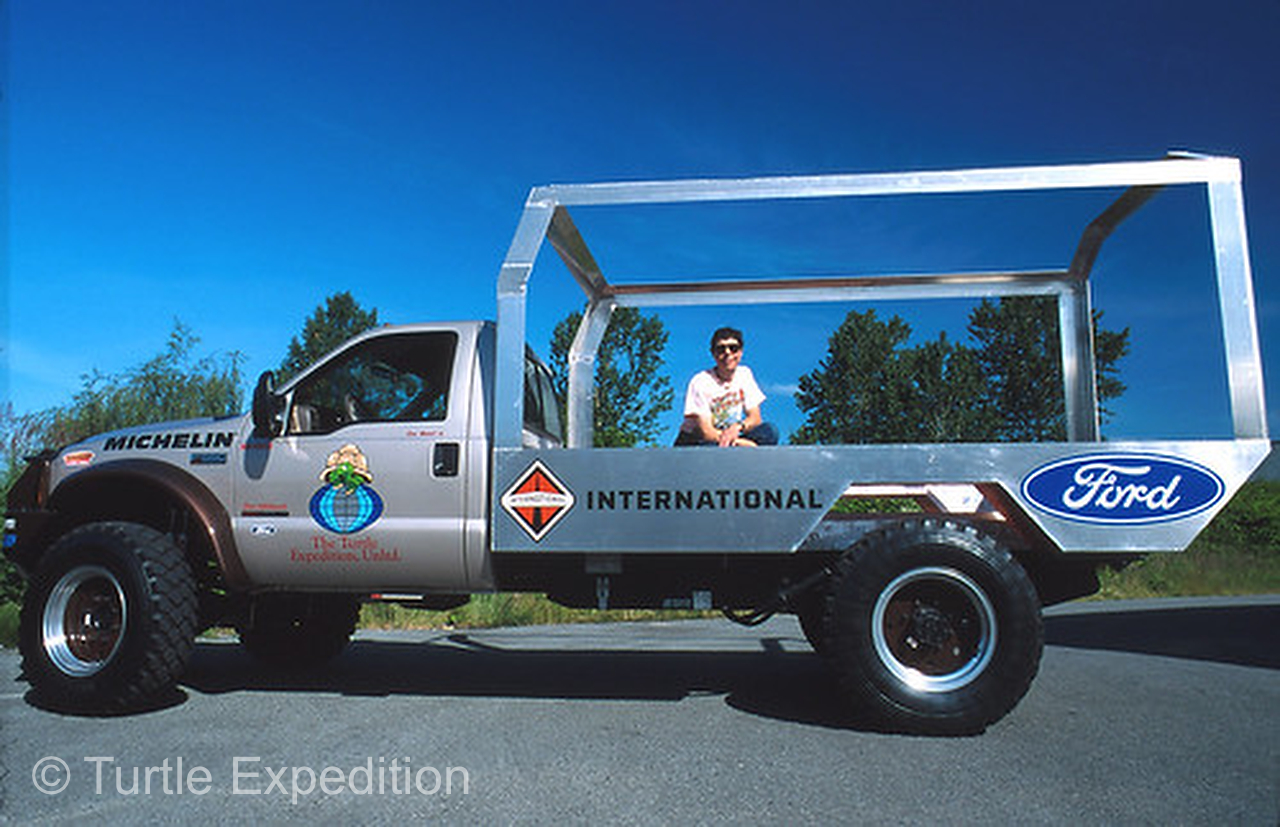
After constructing a wooden prototype, an aluminum exoskeleton was fabricated and welded at all joints.
You cannot twist a Box
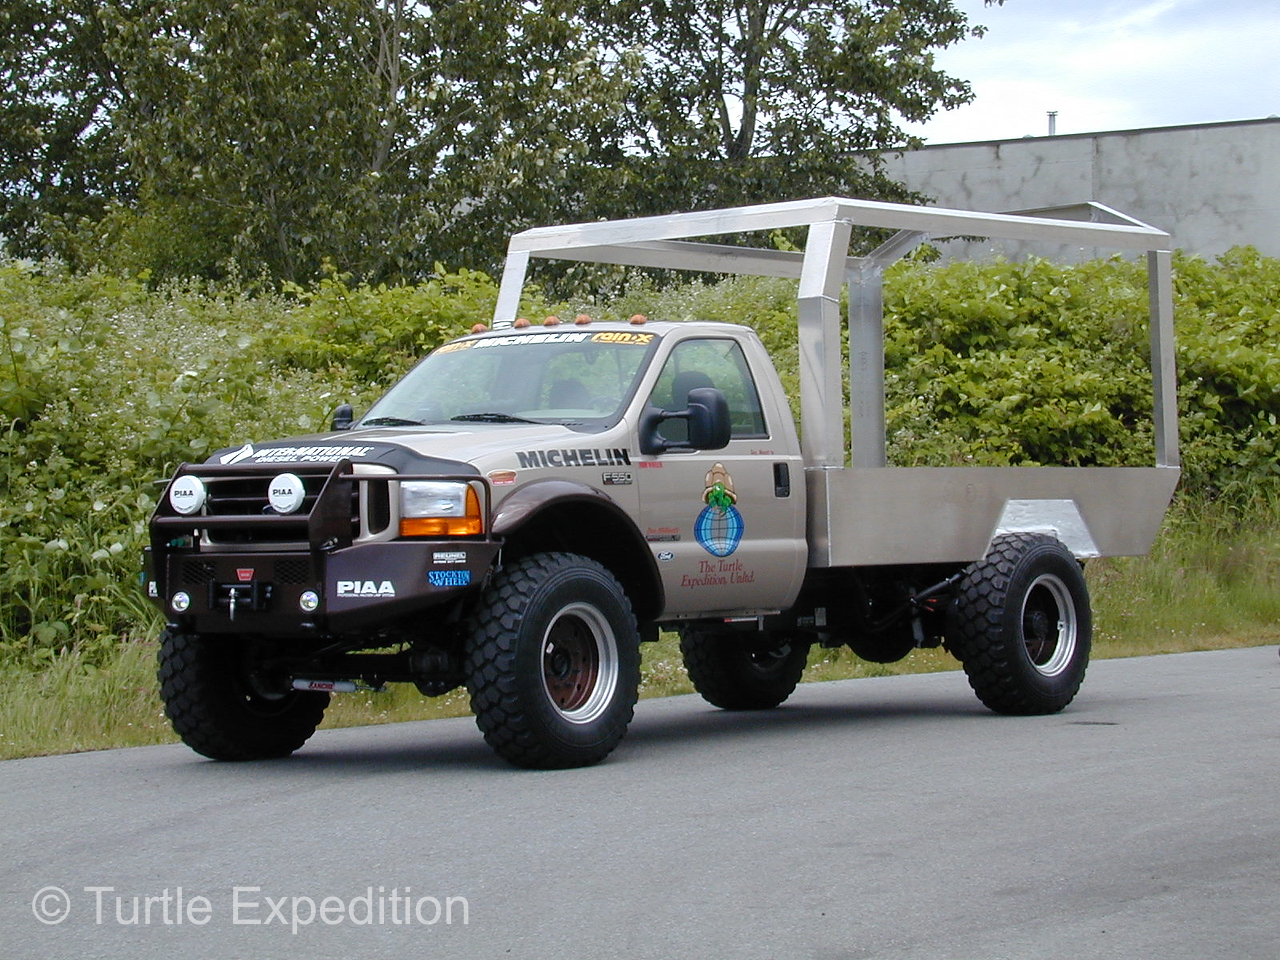
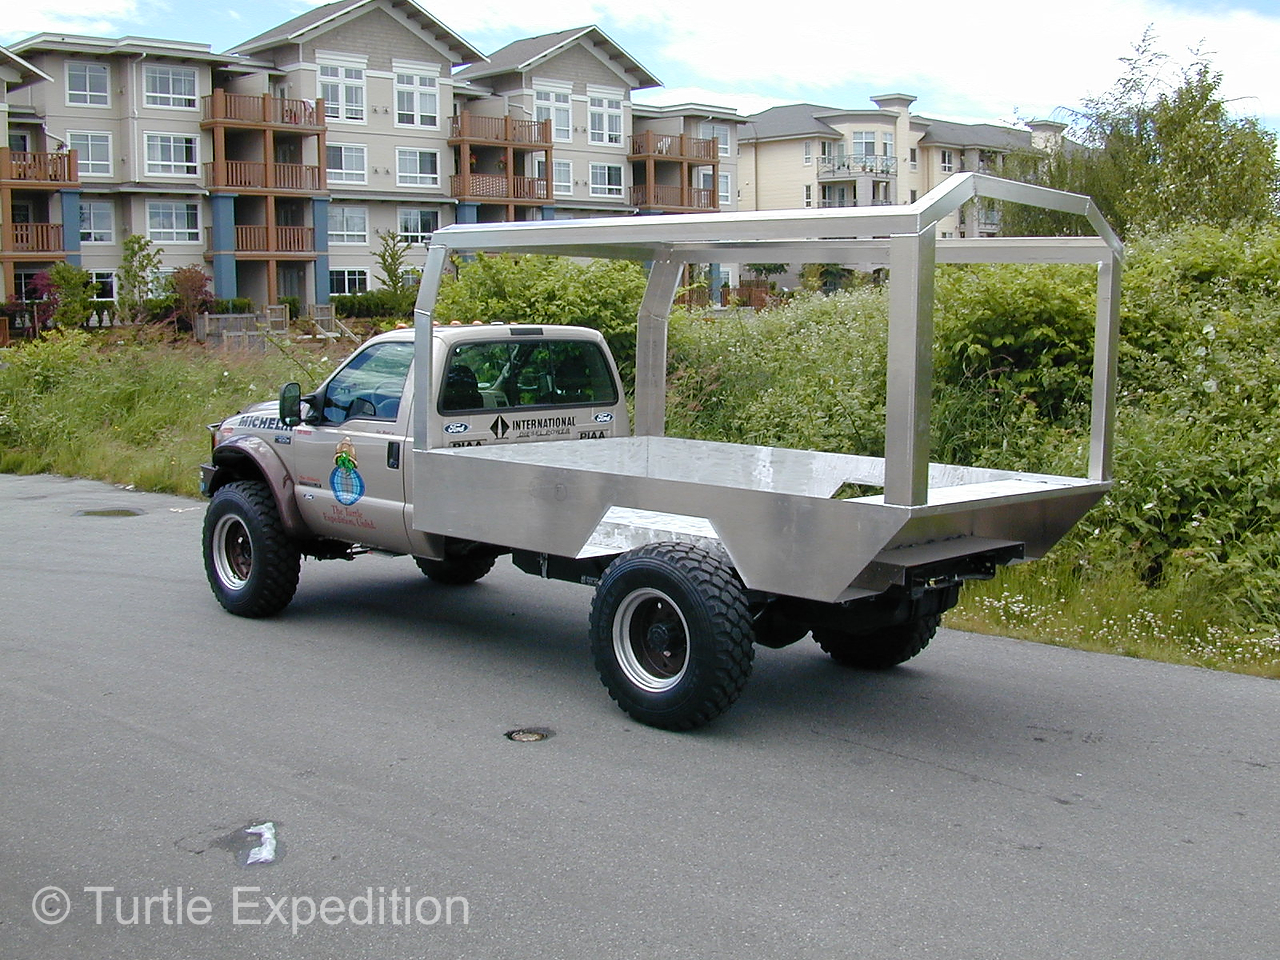
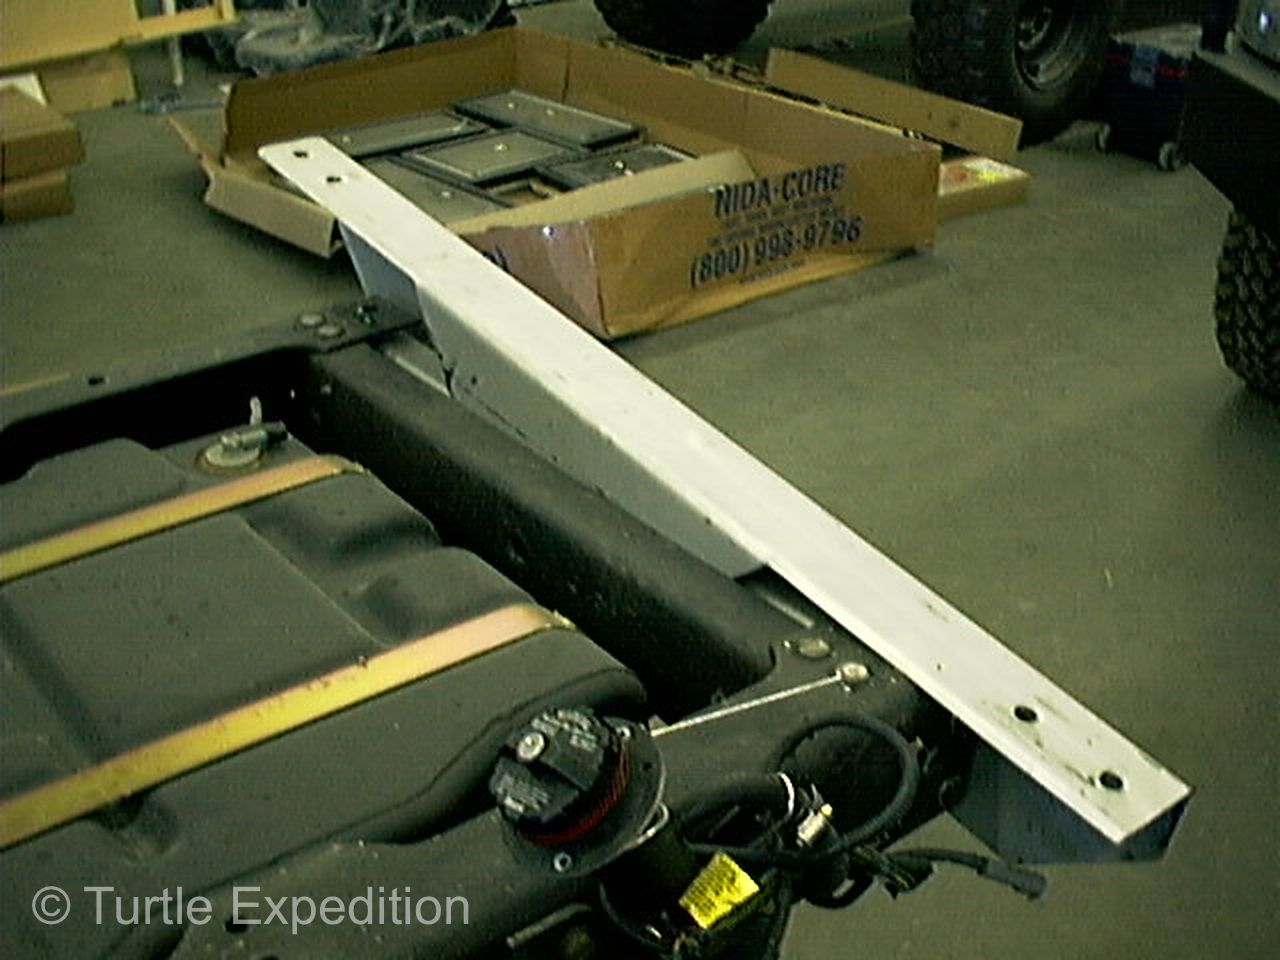
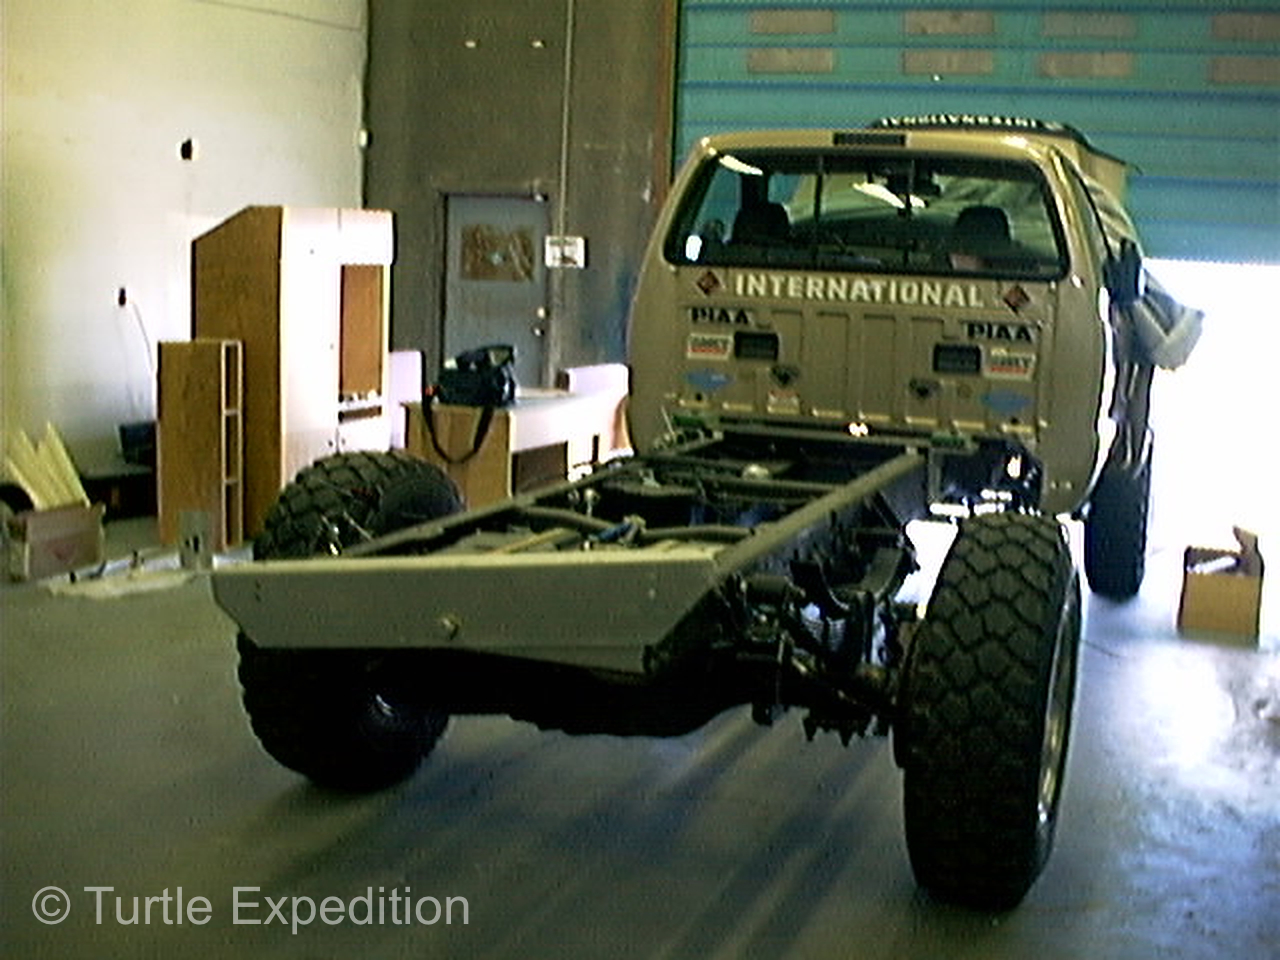
In 2000, this European-style expedition camper was designed by us with pencil on paper and mounted to the chassis of the F-550 using a three-point suspension system engineered by the experts at Midwest Four Wheel Drive in Missouri. There are two supporting pads at the front and a large pivot bolt at the rear. This completely isolates the camper from the twisting of the frame. You cannot twist a box. It will break apart!
Our Goal for the Camper:
Big on the Inside – Small on the Outside
After driving across Russia in 1996 for eleven months, we noticed the advantage the big Kamaz personell carriers had for height clearance by angling the size of the roof. Since you never stand up against the wall you do not loose any headroom and though you may loose some storage space, up high is not where you want your center of gravity. Admittedly, we did not want The Turtle V to look like another US camper or motorhome. That was one of the reasons we did not put a bed over the top of the cab nor add inside storage.
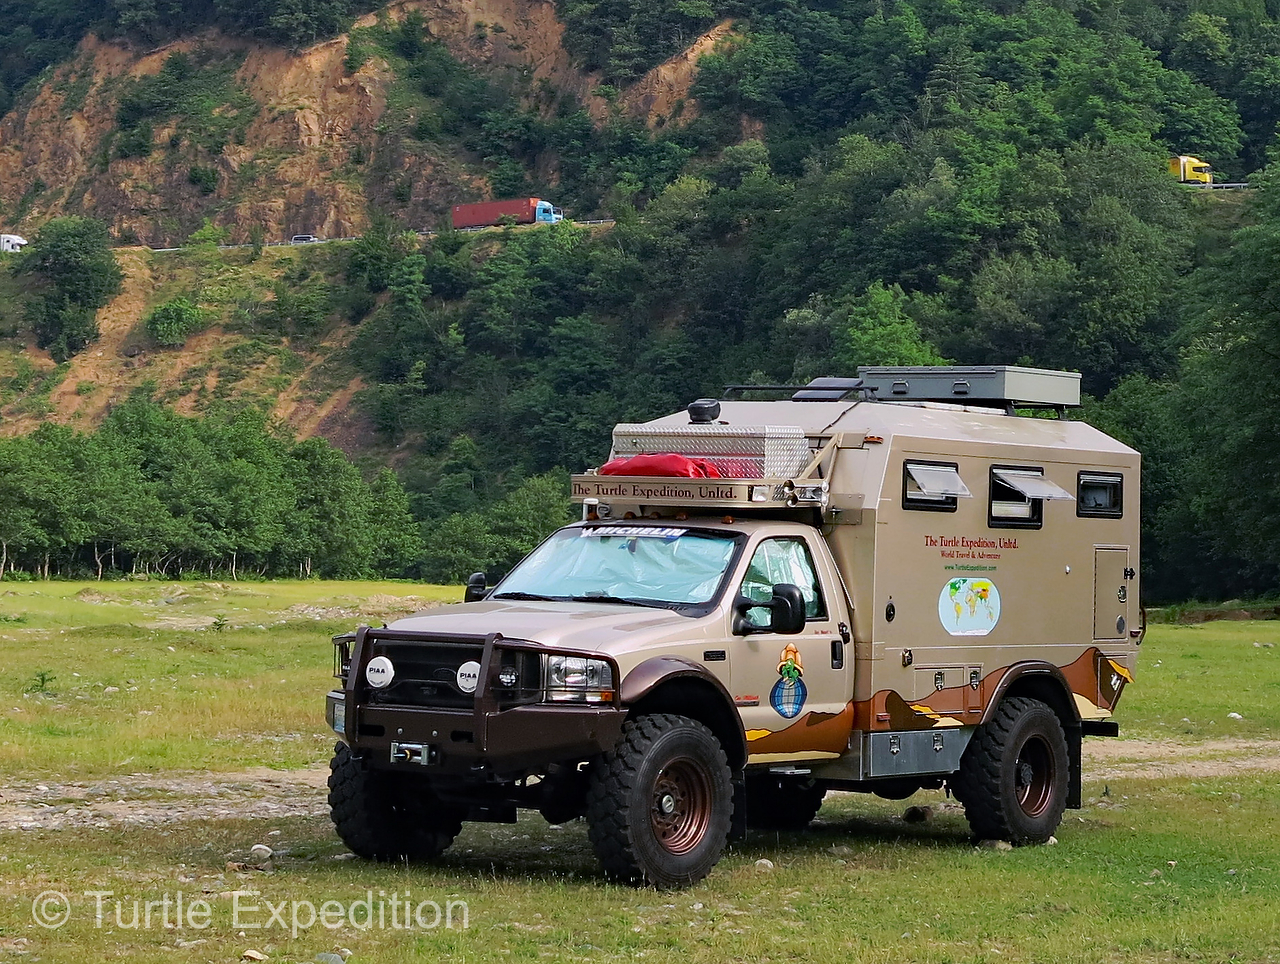
The camper was designed to be as big and comfortable on the inside with maximum use of space, and as small as possible on the outside. After 30 years of exploring the backroads of over 40 countries in four previous vehicles, (see Vehicles on www.turtleexpedition.com), and two special project trucks we built for Ford and Dodge, we knew where we would be going and what vehicle could get us there—and home again. Back in 1997/1998 we had carefully studied designs by respected European expedition camper companies including AluStar, Unicat and Langer & Bock and attended a couple of large overlander gatherings in Germany. Using the advantage of looking through a filter gained by years of observing what worked and what didn’t, the design began to take shape. We had an inside view on the newest and most functional products available at that time, and it continues to evolve.
Basic Living Requirements
 Basic living requirements were simple; sleep, cook, eat, work, bathe and go to the bathroom without opening the camper door, for a week if necessary. A comfortable bed, a comfortable place to sit, to eat and work, a functional kitchen with a three-burner propane stove to prepare healthy meals, two sinks with two faucets, one for purified water and one for filtered purified water, a compressor refrigerator, an inside and outside shower, a Porta-Potti, a good sound system and plenty of light where it is needed.
Let’s start on the outside:
Camper Roof

Two BP85 solar panels on the roof run through a Blue Sky Energy Solar Boost 3000i controller.
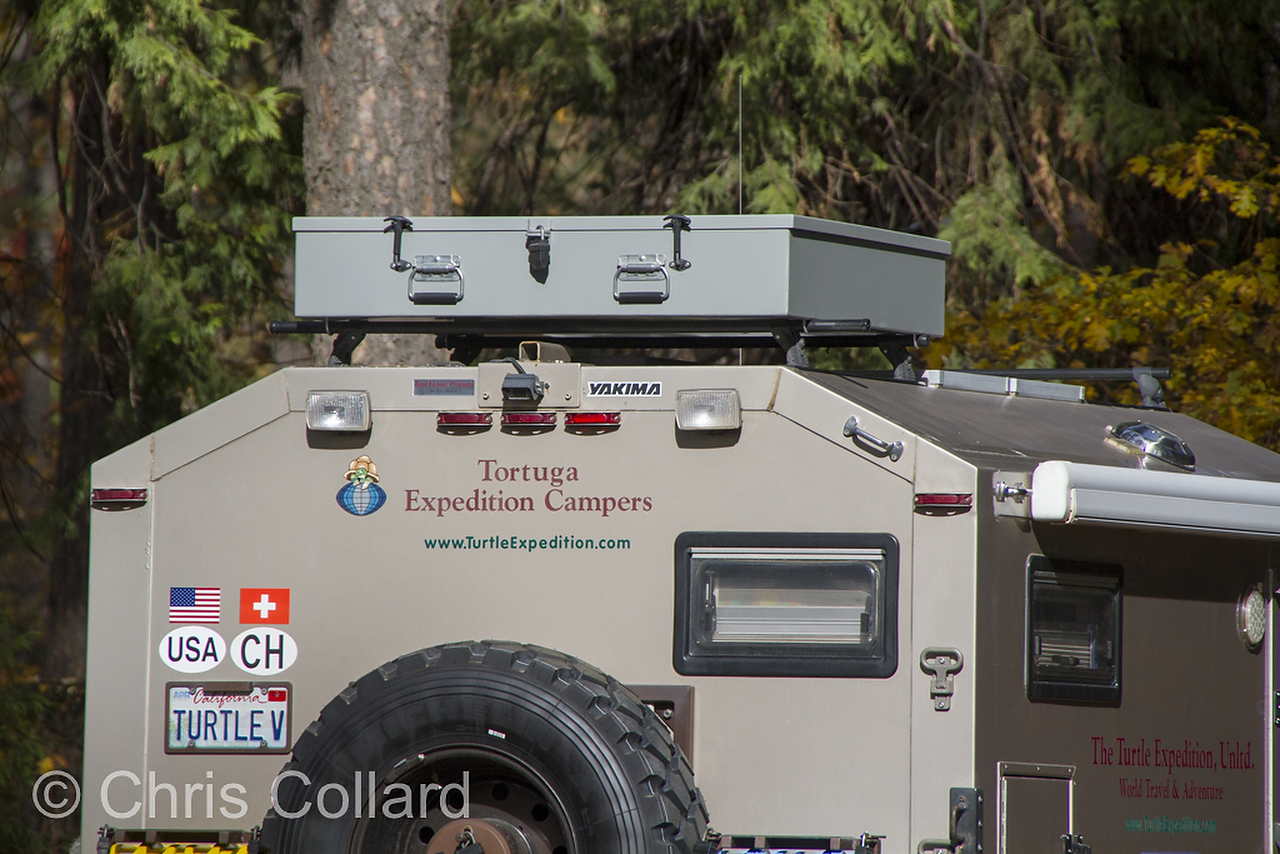
On the roof of the camper we installed a system of Yakima permanent rack rails. The Yakima rails accommodate low-profile Yakima Skyline Towers and cross bars to which we can attach racks for a canoe, kayaks, or a Yakima ski box. In preparing for our recent 40,000/26-country expedition, we had a custom weather-proof locking aluminum storage box designed for additional clothing, (summer or winter), backpacking gear and other travel equipment. It was mounted on the rear Yakima cross bars. Two BP 85 solar panels on the roof run through a Blue Sky Energy Solar Boost 3000i controller.
?Air Conditioning?
We did not want air-conditioning nor the generator and separate fuel it would require. In the places we travel we rarely have shore power. Two Fan-Tastic Vents give us great air circulation. One is located on the ceiling between the dinette and the stove and the other over the bed. Two smaller fans can be moved where we need them.
Windows
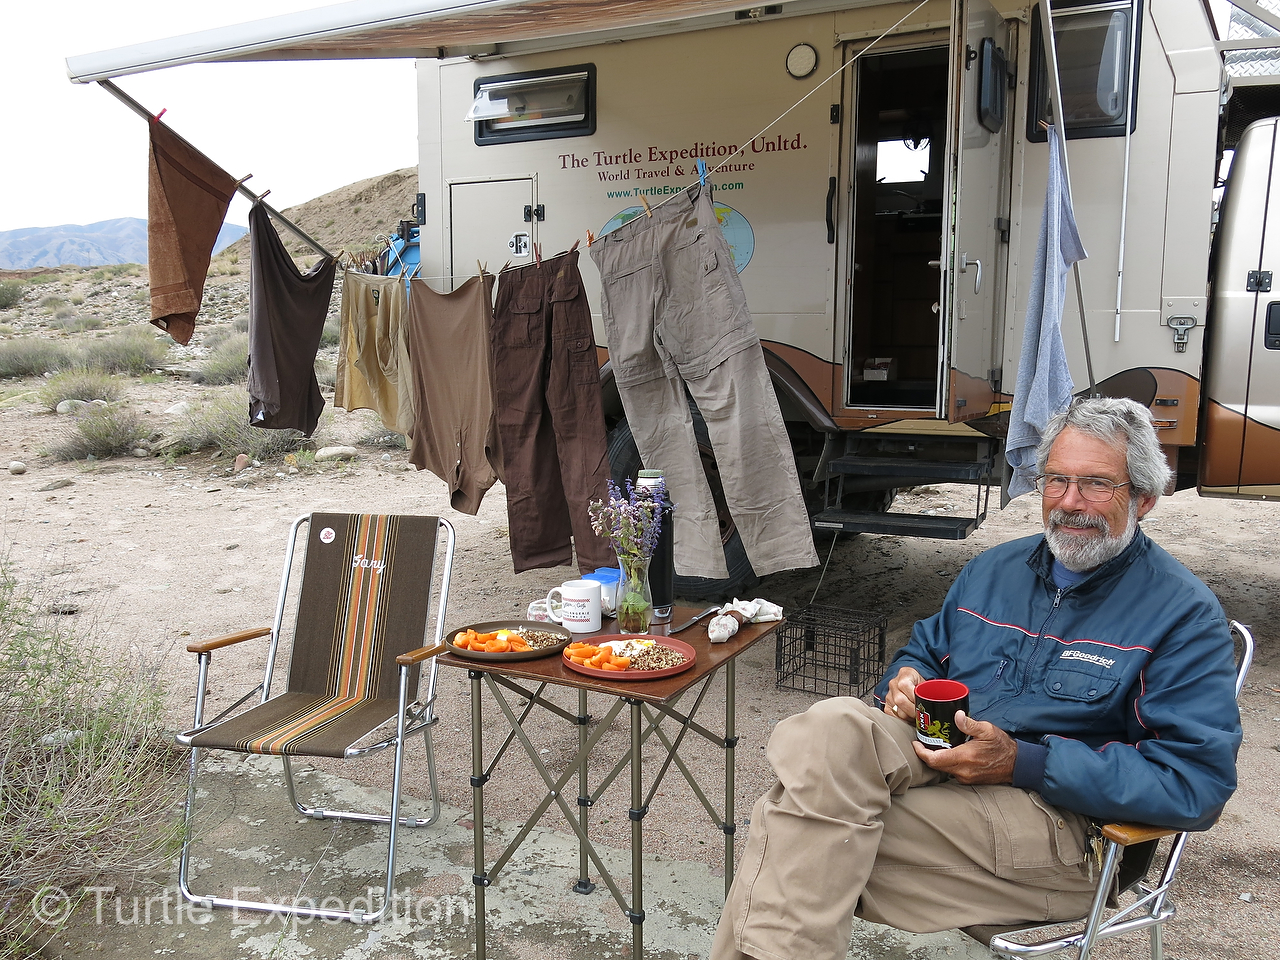
Aside from offering protection from burning sun or pouring rain, an awning is a great place to hang clothes to dry when there isn’t a tree for fifty miles.
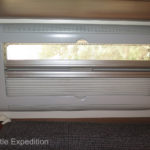
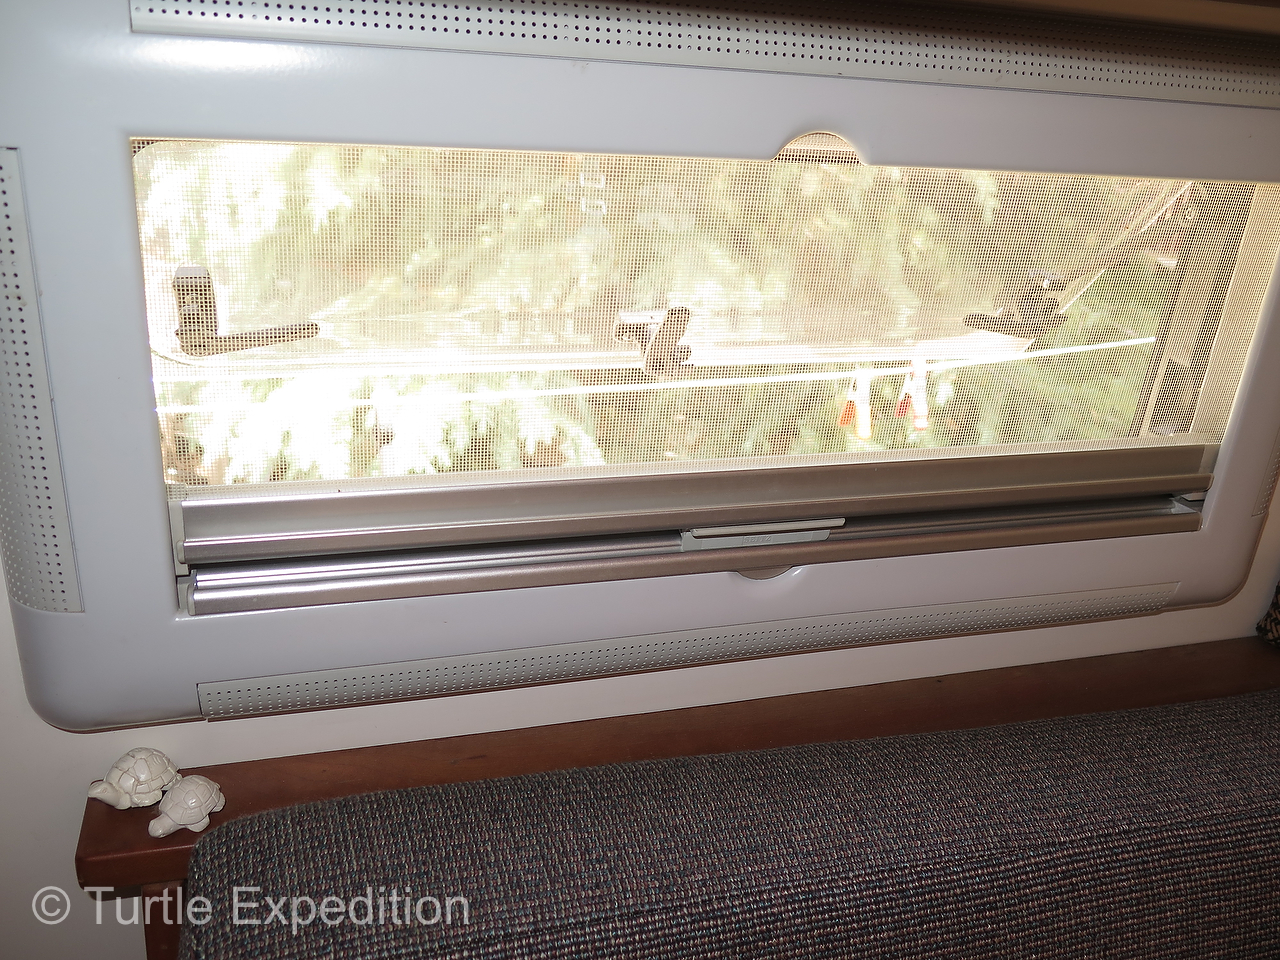
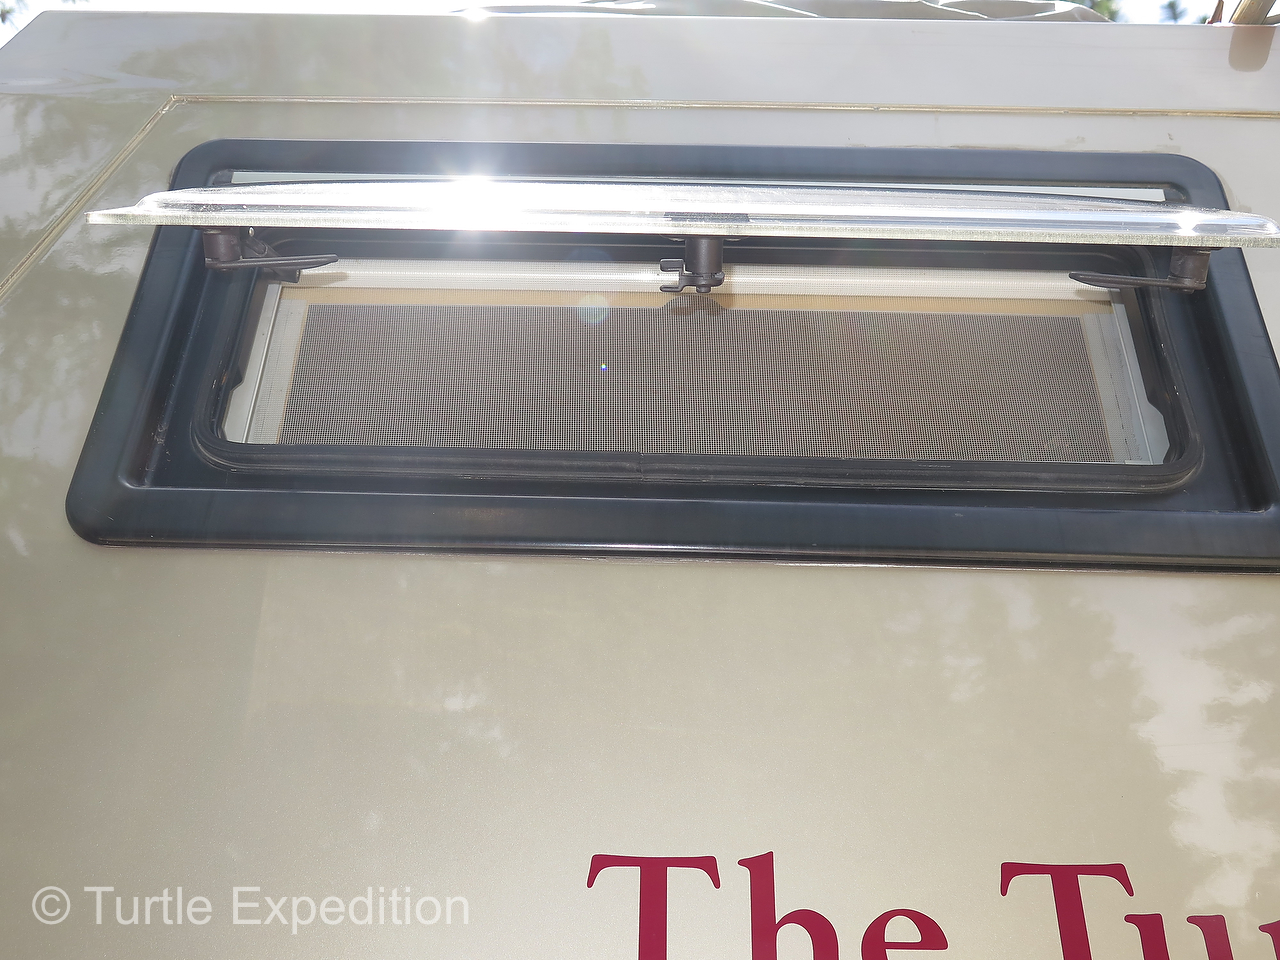
All windows are Seitz dual-pane with privacy and mosquito screens incorporated. They can be locked in vent-mode. All windows are a size too small to crawl through but plenty large enough to see out of.
Awning
Of course we needed an awning, not only for shade or rain in a camp, but its poles provide a quick clothes line if we do a small wash when there isn’t a tree for fifty miles. The 8.8 ft. Fiamma 45 has served us well and opens in a couple of minutes for a quick lunch break.
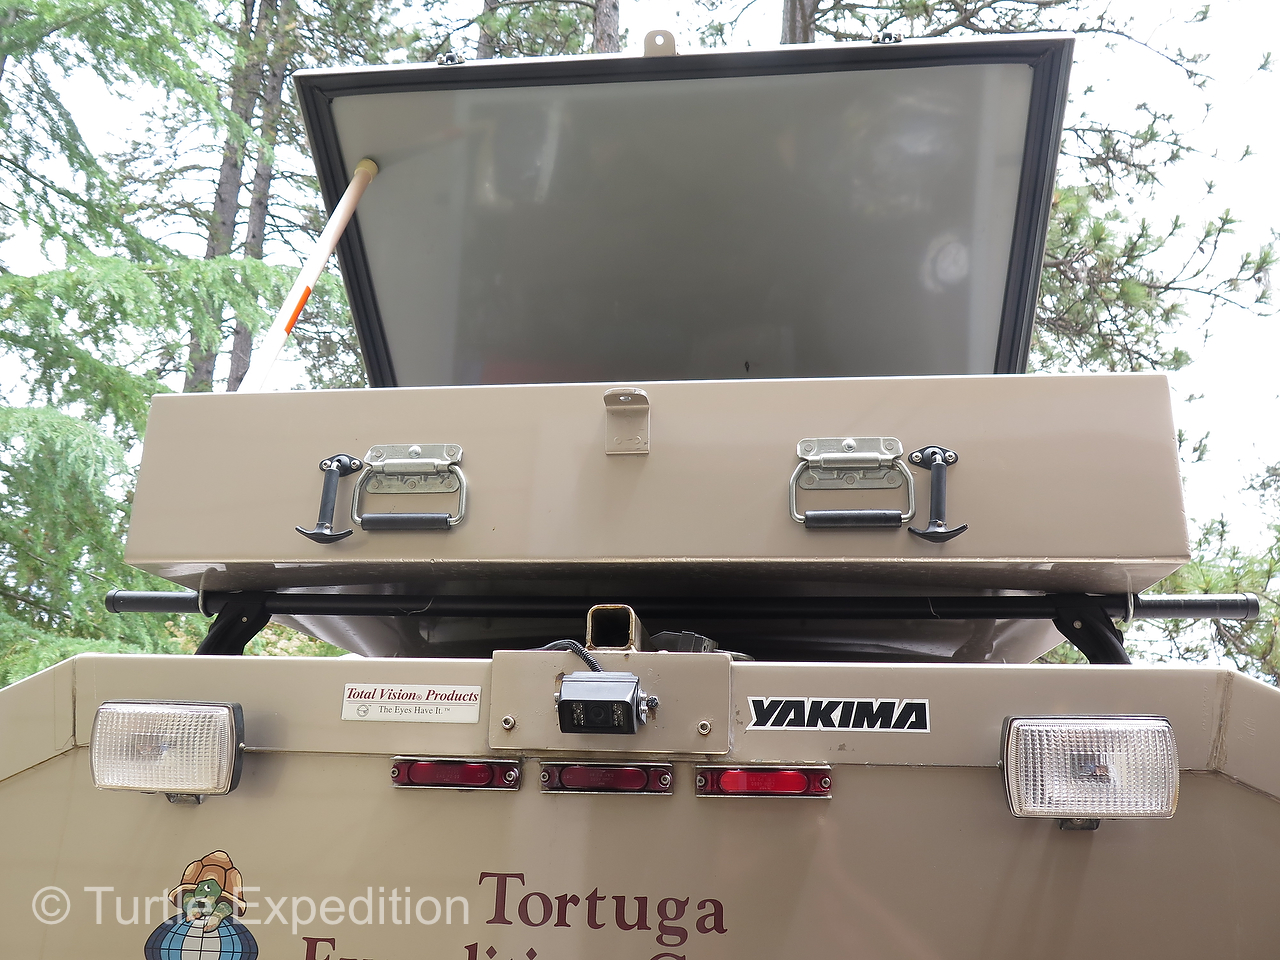
Outside Lights – Front Rack – Air Horns
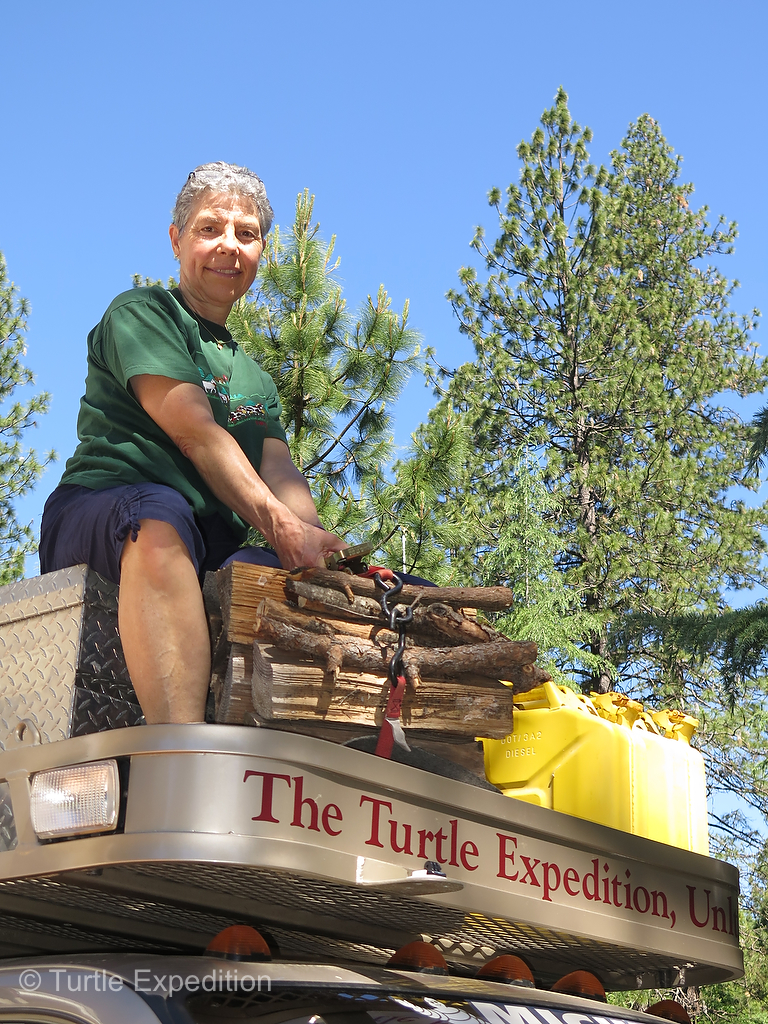
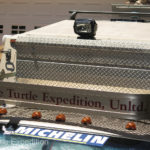
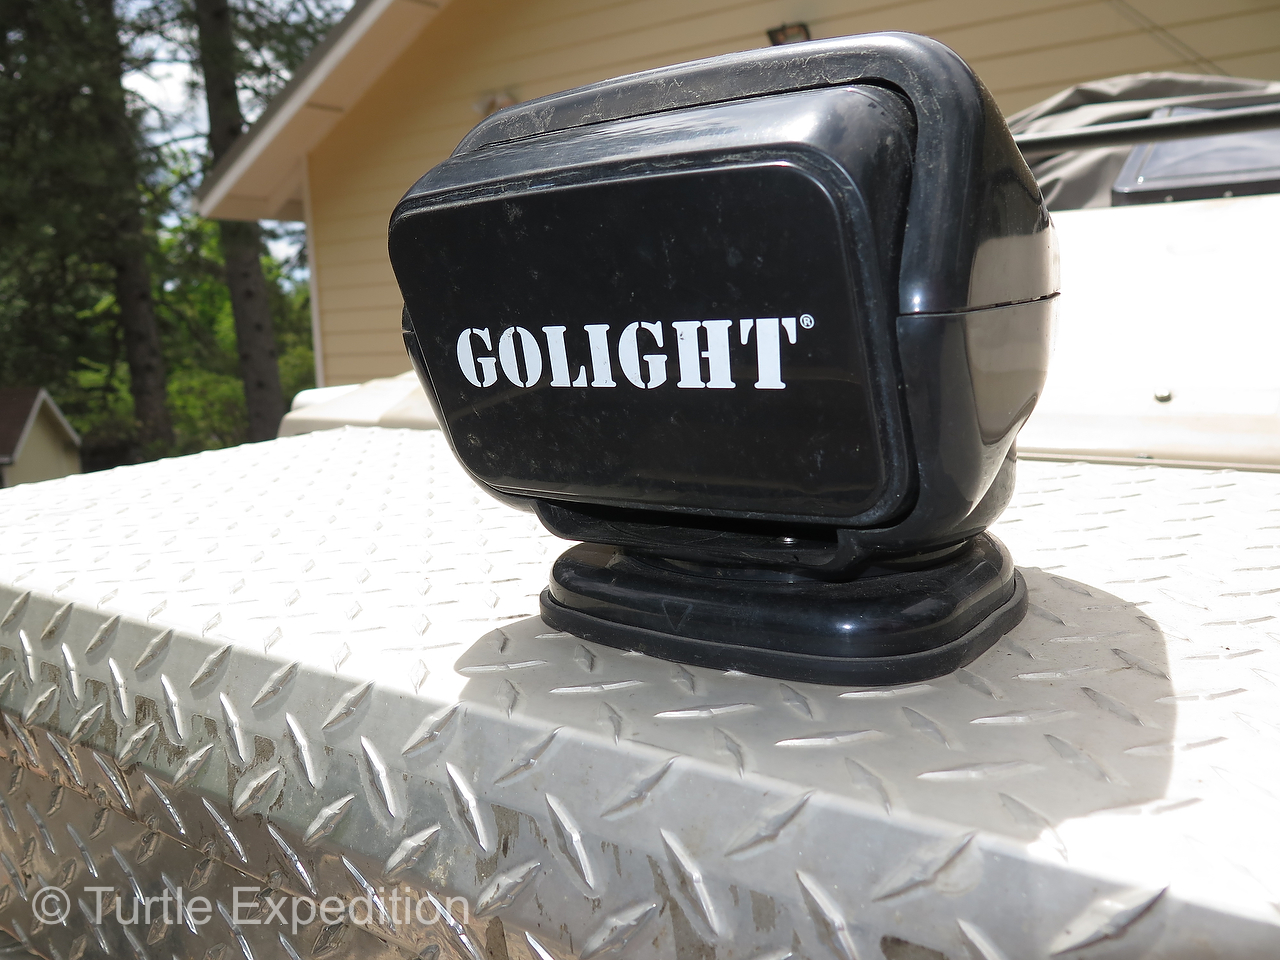
All running lights are Grote LED. Backing up a camper at night can be troublesome. We installed four powerful flood lights that can be turned on manually or automatically when we shift into reverse. On the front of the camper box a large cab-over multi-use storage rack was designed. A Weather Guard locker fits perfectly with room for more jerry cans, a load of firewood or a Cascade Designs SeaLine bag for diving gear. It afforded a convenient place to bolt a pair of Fiamm stainless steel marine air horns. Loud horn is an international language. A remote-control GoLight has a good field of view from the Weather Guard lid.
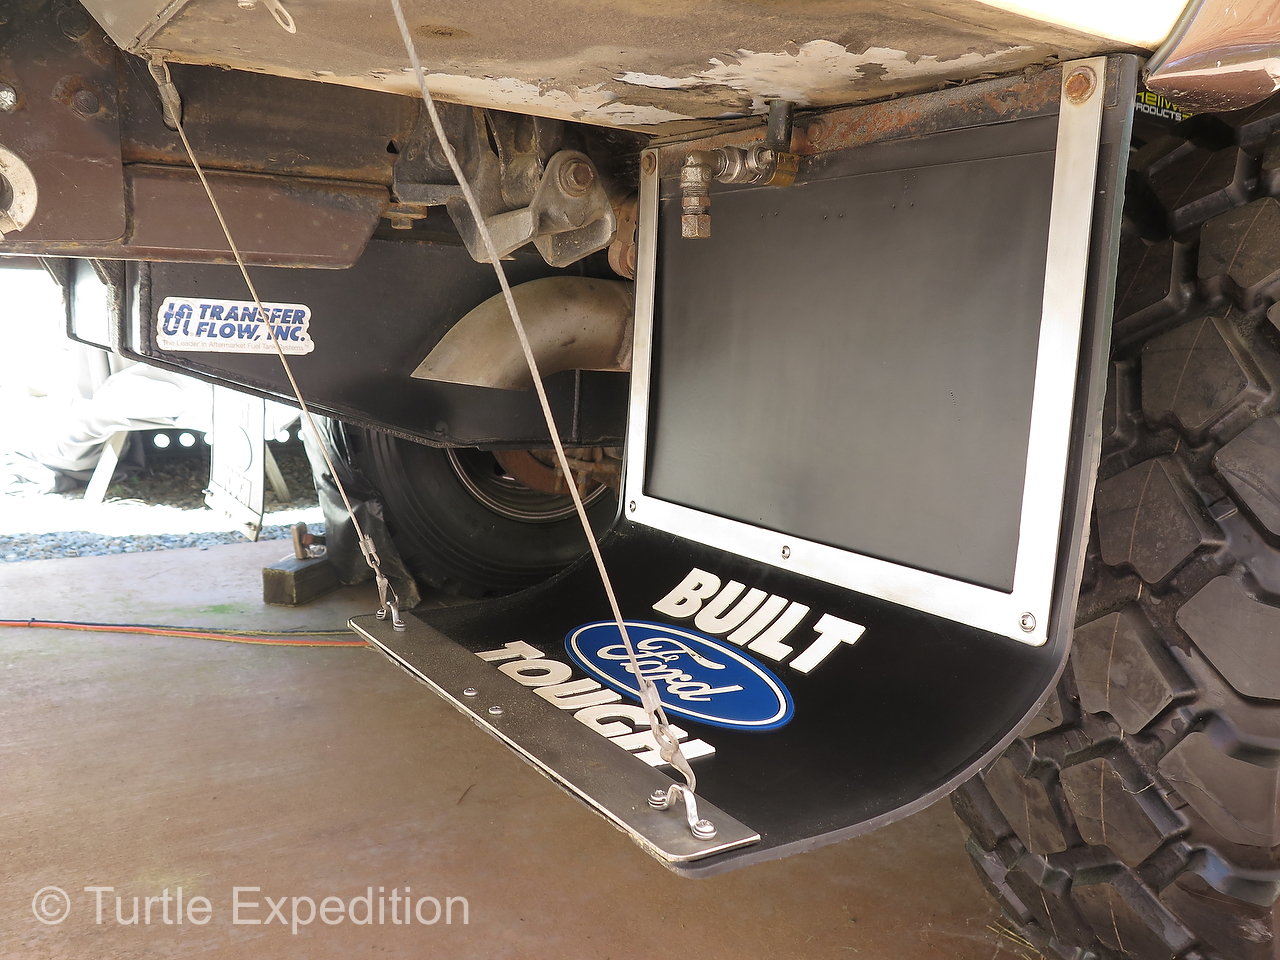
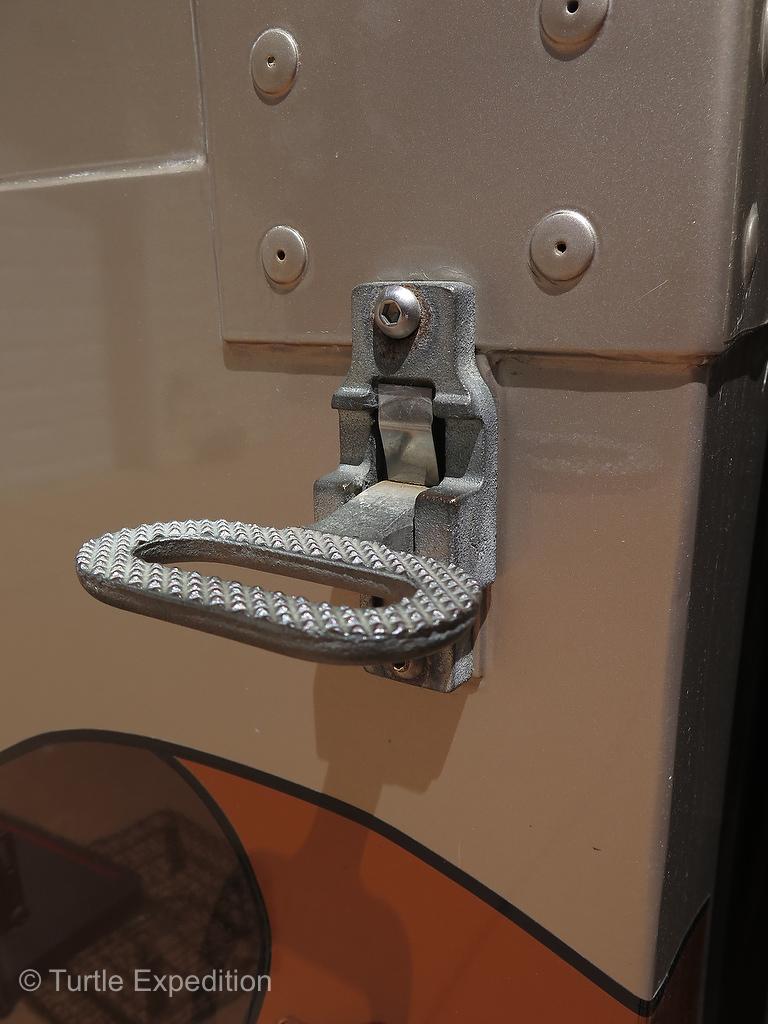
Outside Storage Compartments
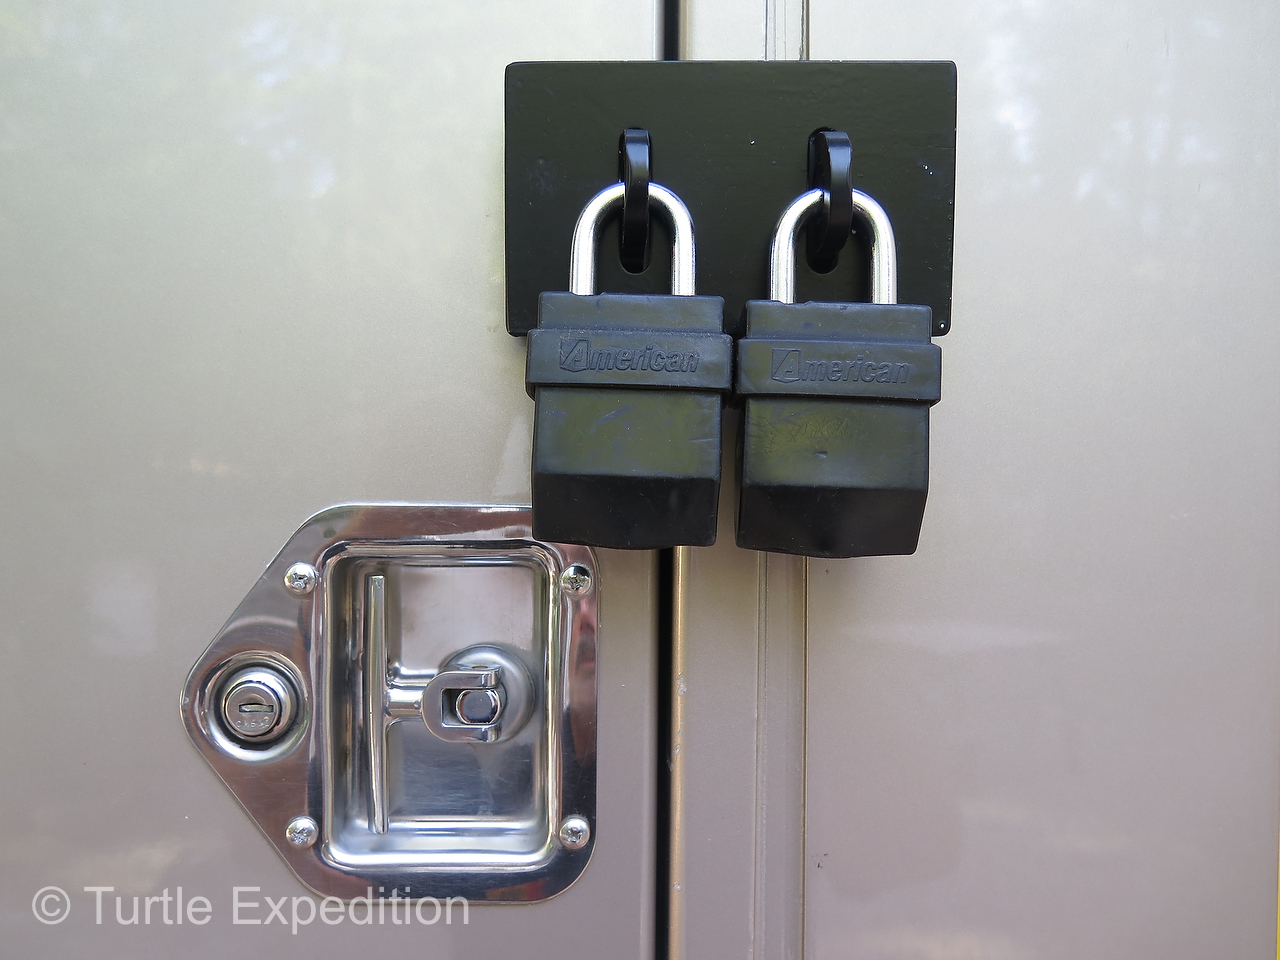
When we ship the truck or park in non secure areas, all outside doors can be locked or even double locked.
All outside compartments, the camper and the cab doors can be locked or even double-locked for shipping. The compartments were built knowing mostly what was going to be stored in them. In addition to their function, big pad locks are a physical intimidation. Too much trouble. Thieves are usually looking for something easy, quiet and fast.
Driver Side
Two side compartments on the front driver side contain a fuel fill port for our auxiliary Transfer Flow tank, the Racor fuel filter previously mentioned in Blog 5 and the Eberspaecher Hydronic coolant heater.
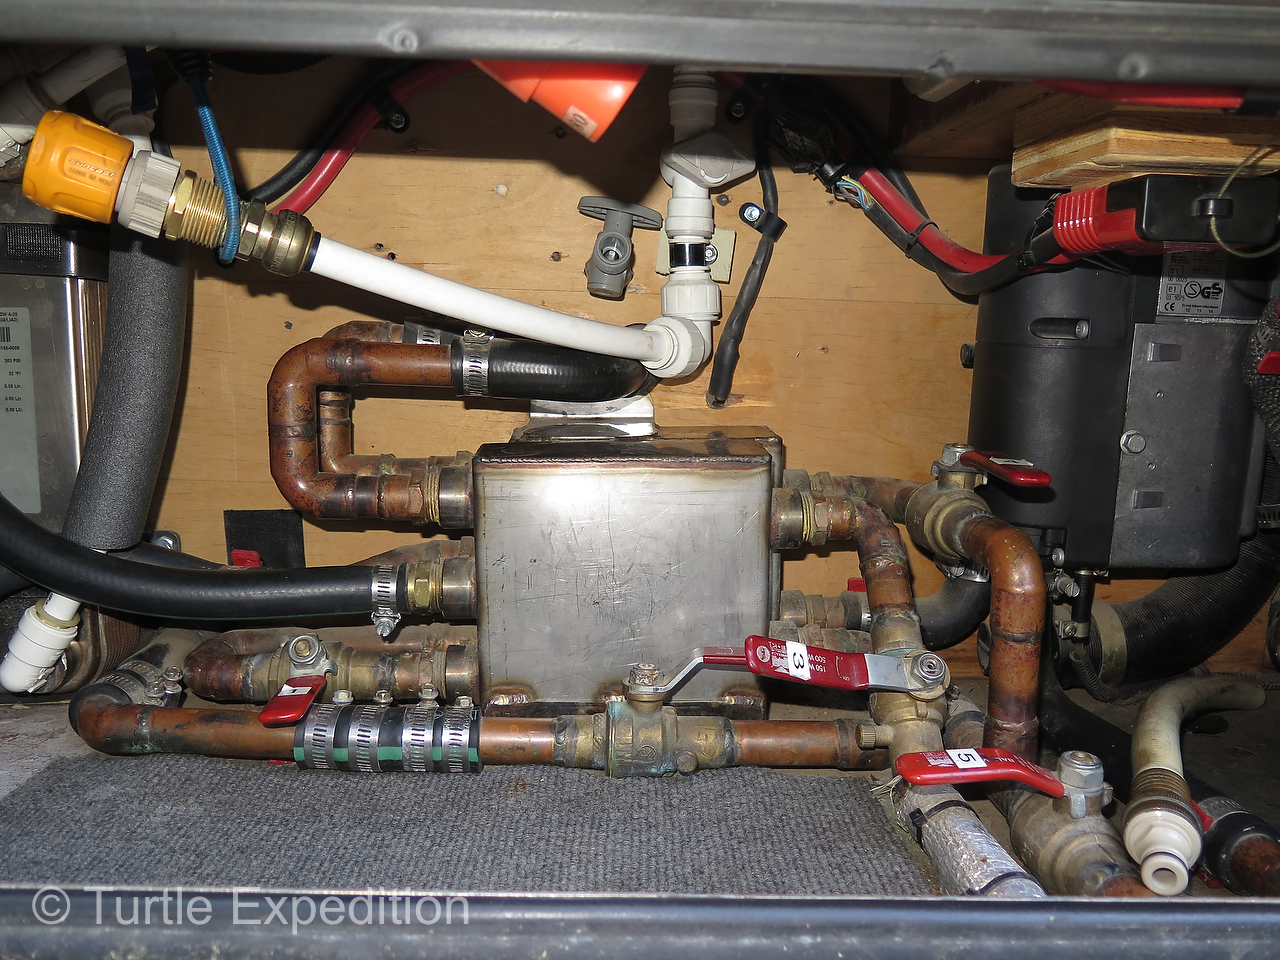
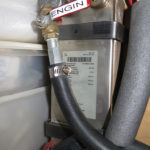
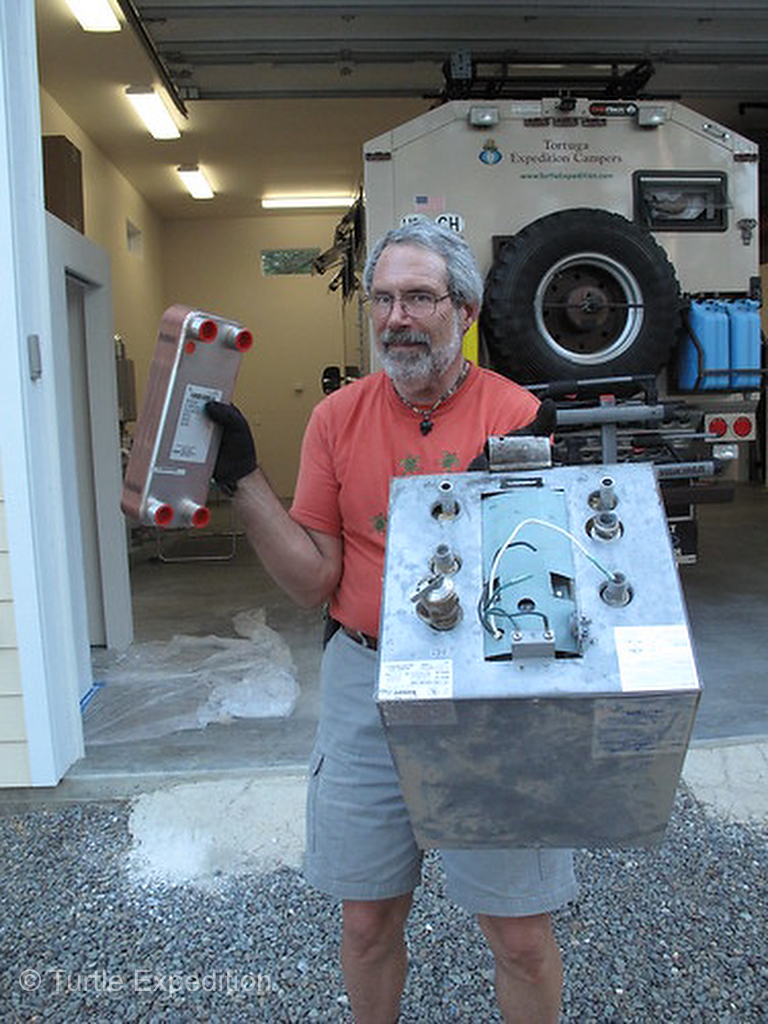
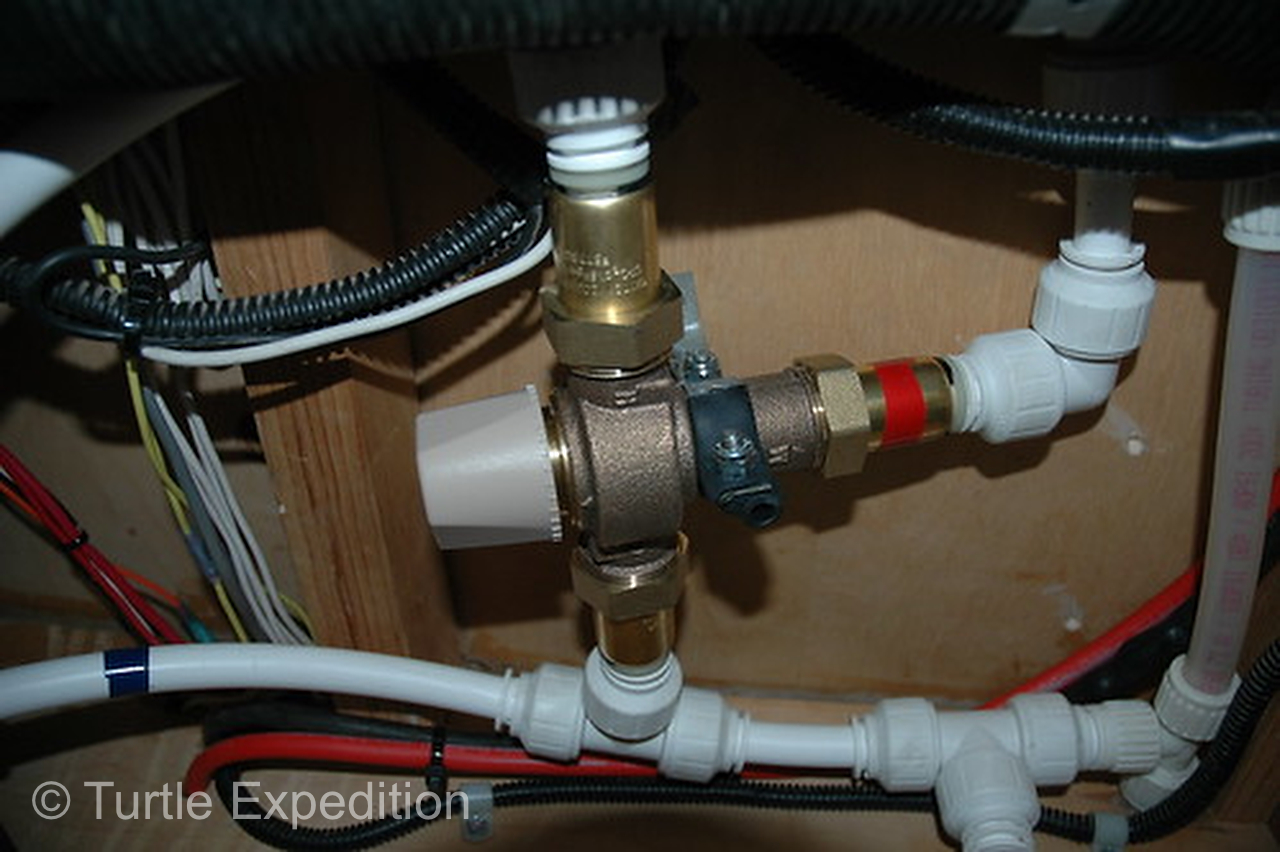
A series of valves and transfer tanks allow us to direct the hot coolant back to the engine and/or through a Kelvion Plate heat exchanger and/or to a small radiator heater inside the camper. It’s free heat when we are driving. We also gained more storage space when we replaced the leaky marine 6 gallon hot water heater with the Kelvion Plate heat exchanger.
The Watts Series MMV thermostatic Mixing valve cools the 160°F water from the Kelvion Plate heat exchanger down to a safe 120°F tap water in about three minutes.
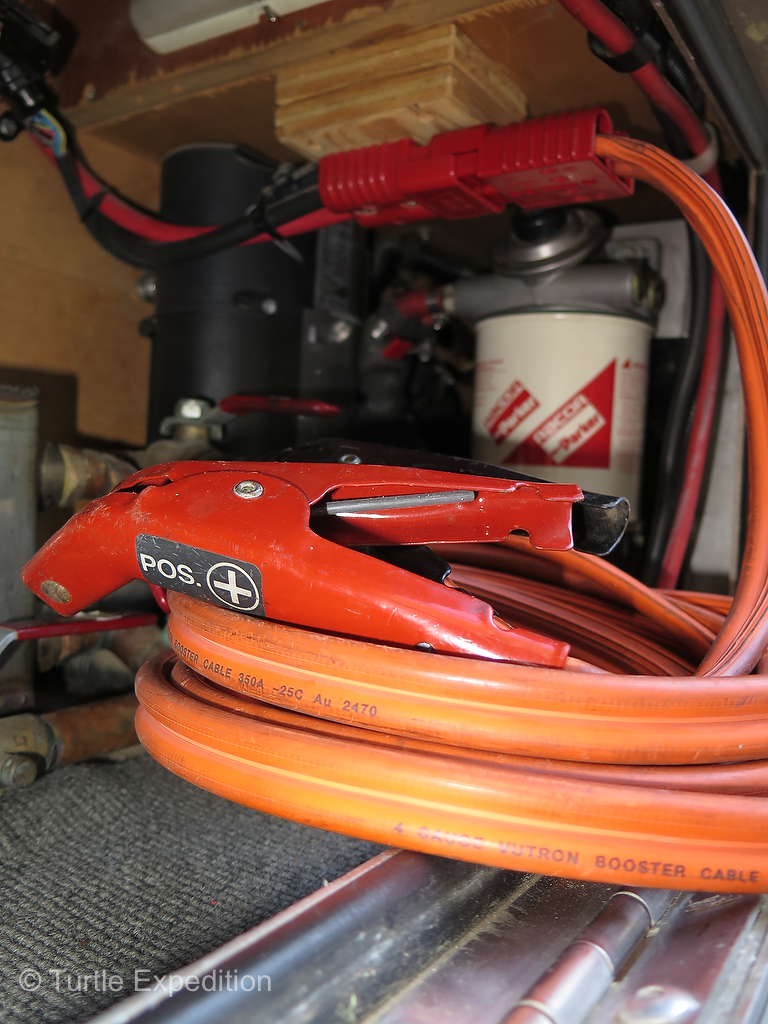
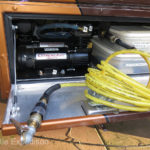
A Warn quick disconnect in this compartment lets us plug in our jumper cables utilizing the four Odyssey camper batteries.
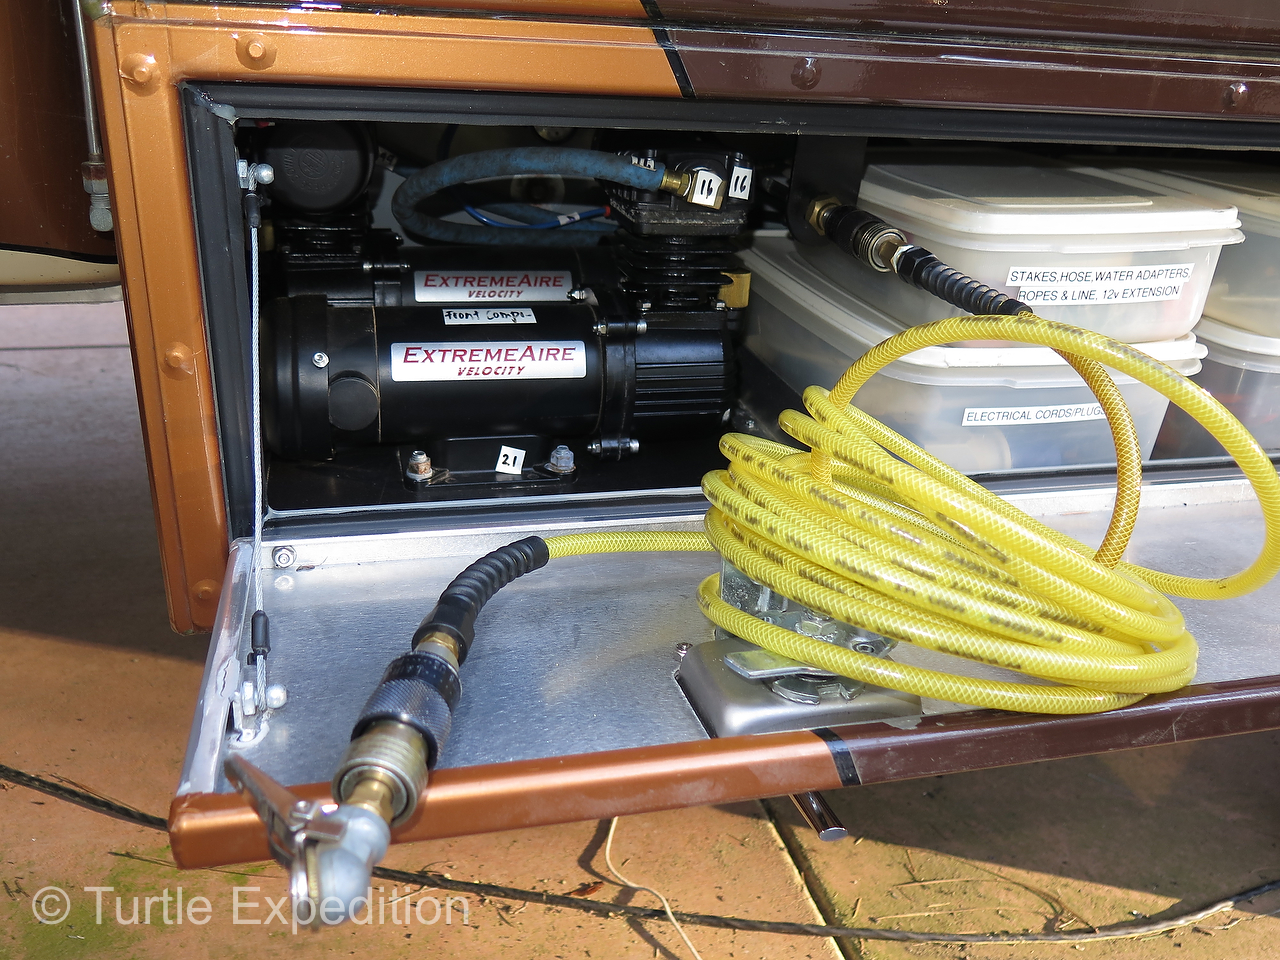
The Dual ExtemeAires can take our 41” Michelin XZLs from 30psi to 55psi a little over a minute.
Below that is a compartment for our dual ExtemeAire Magnum 12 Volt compressors by Extreme Outback Products and storage boxes for air hoses, electrical cables and adapters.
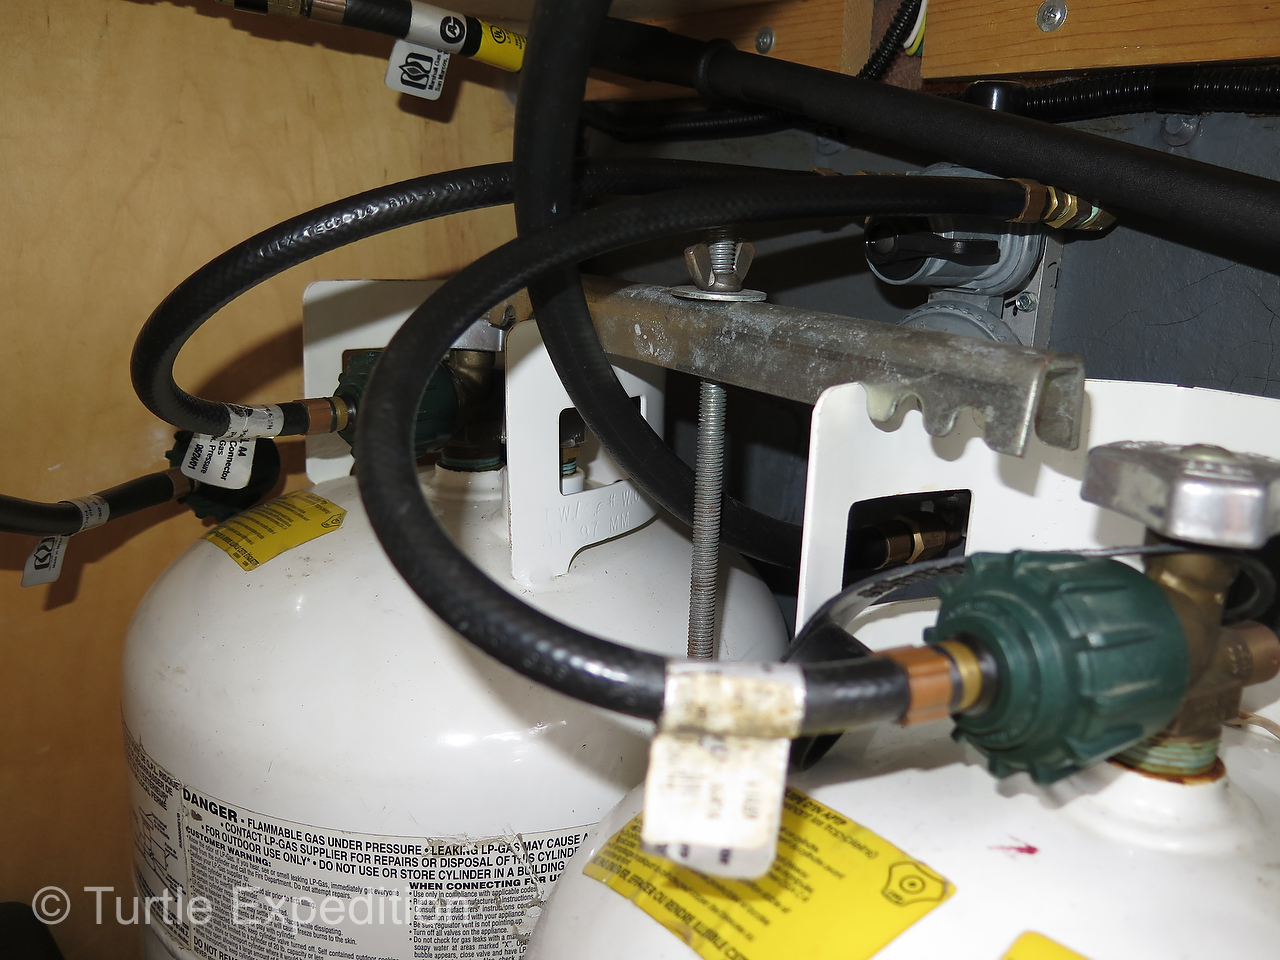
At the far rear, the propane compartment was sized to fit two Manchester 20-lb tanks with a secure hold-down and a duel-tank switch-over regulator leaving room for pre-measured repair and equipment boxes and the outside shower system.
Rear Compartment – three access doors
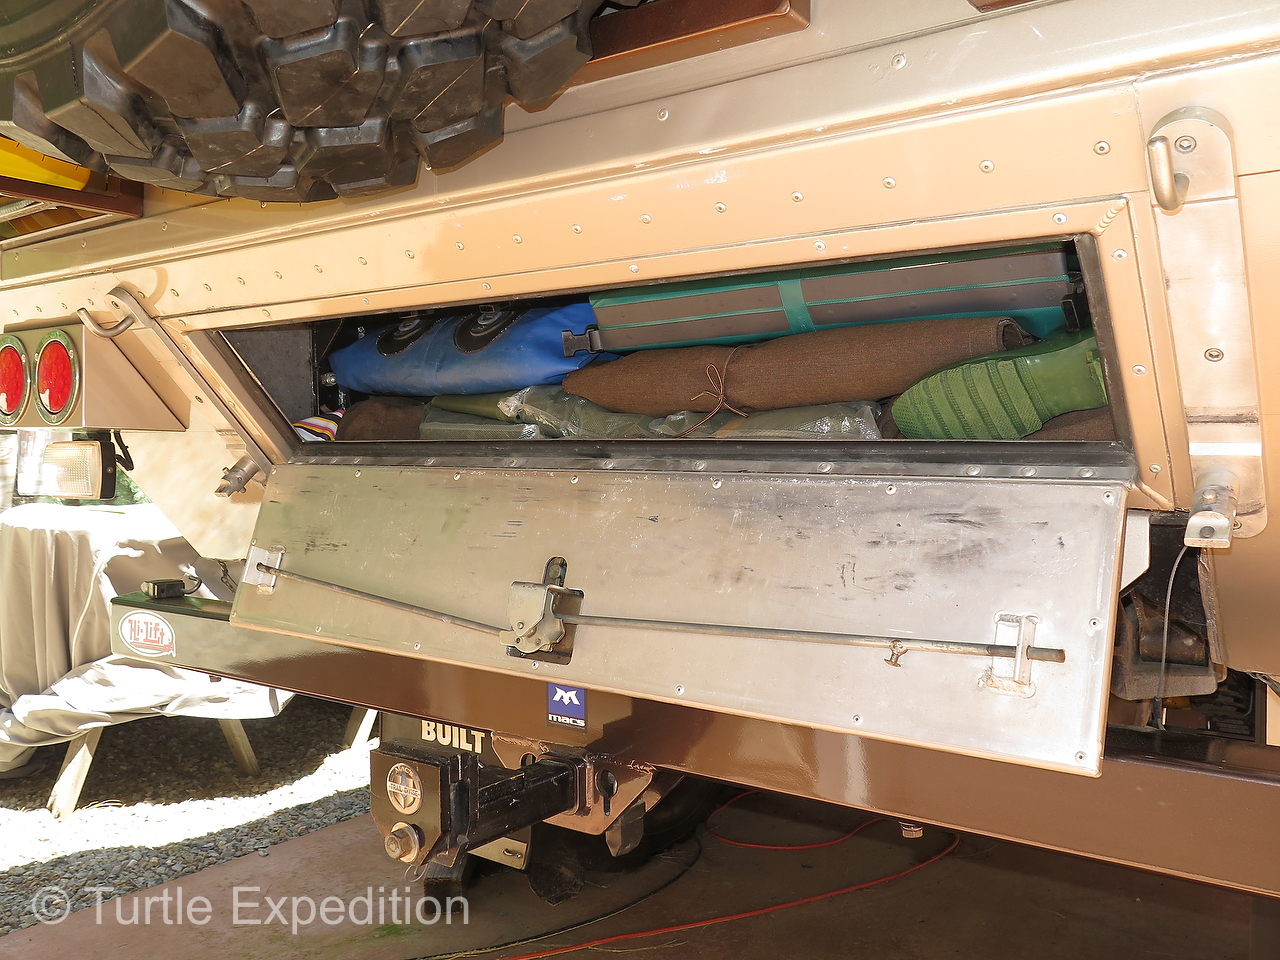
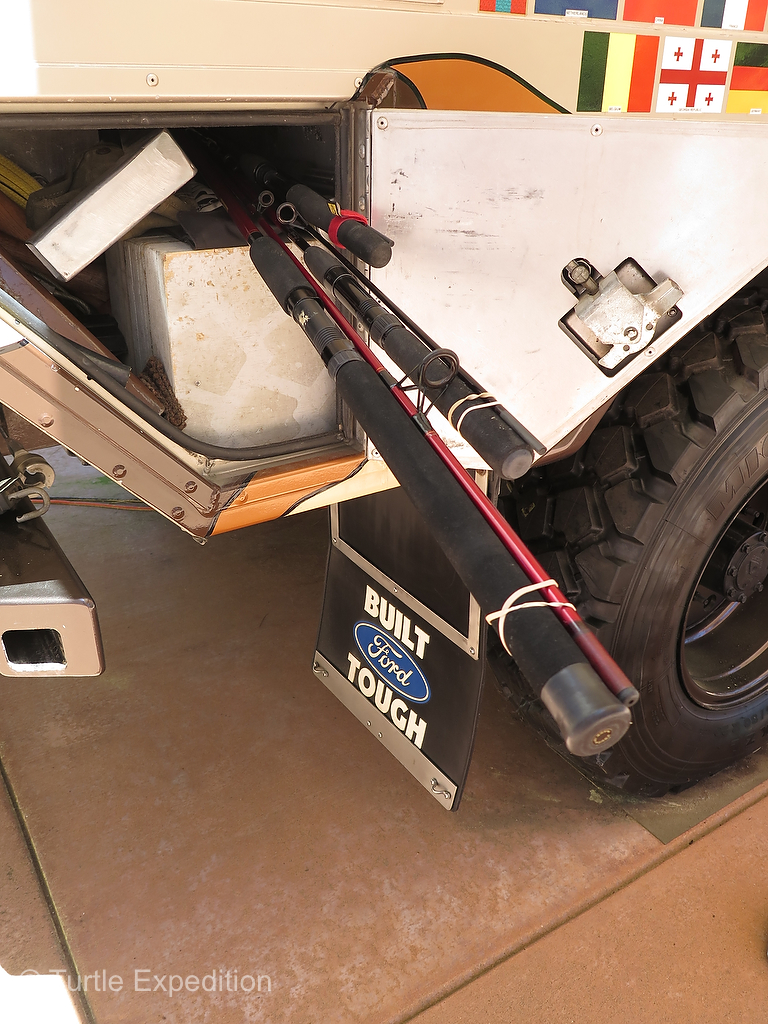
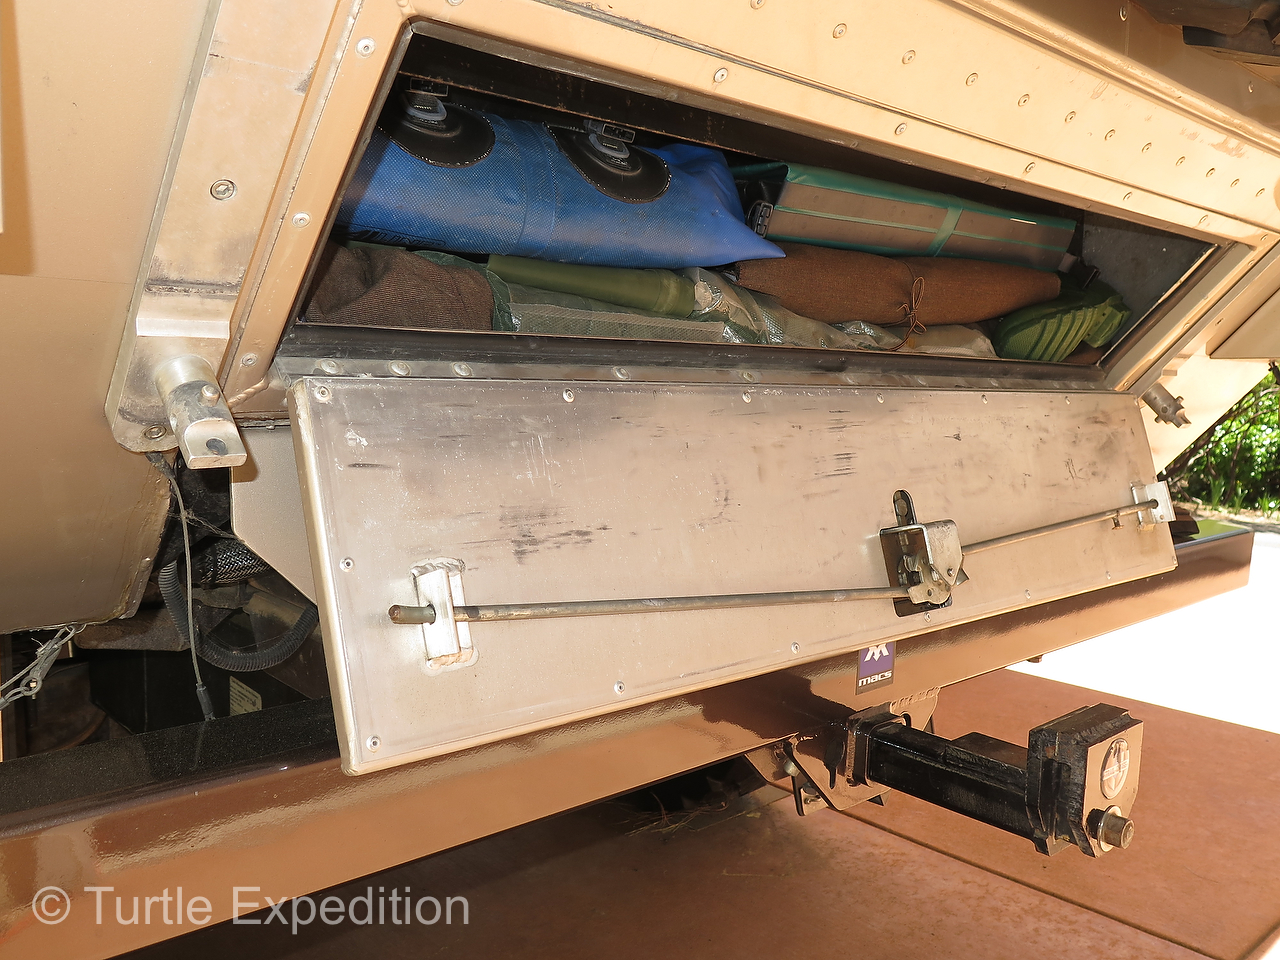
The big rear compartment has room for long bulky gear that isn’t needed every day.
The big compartment behind our Darr military sand ladders holds long equipment like our awning crank, wash brush, and fishing poles, chains, recovery gear and spare parts. It is also accessible from both sides of the camper. On the driver side, the fill tube of our main Transfer Flow tank is located while the passenger side is filled with leveling blocks, a shovel, a saw and two bottle jacks, etc.
Passenger Side
The upper door on the passenger side rear holds every-day camping gear like our ZipDee chairs, the Weber Go-Anywhere BBQ, a foldable Coleman stand, table tops, a Ready Welder 12 V welding system, the portable toilet seat, etc. It is the only door that opens towards the rear because it makes access in camp more convenient.
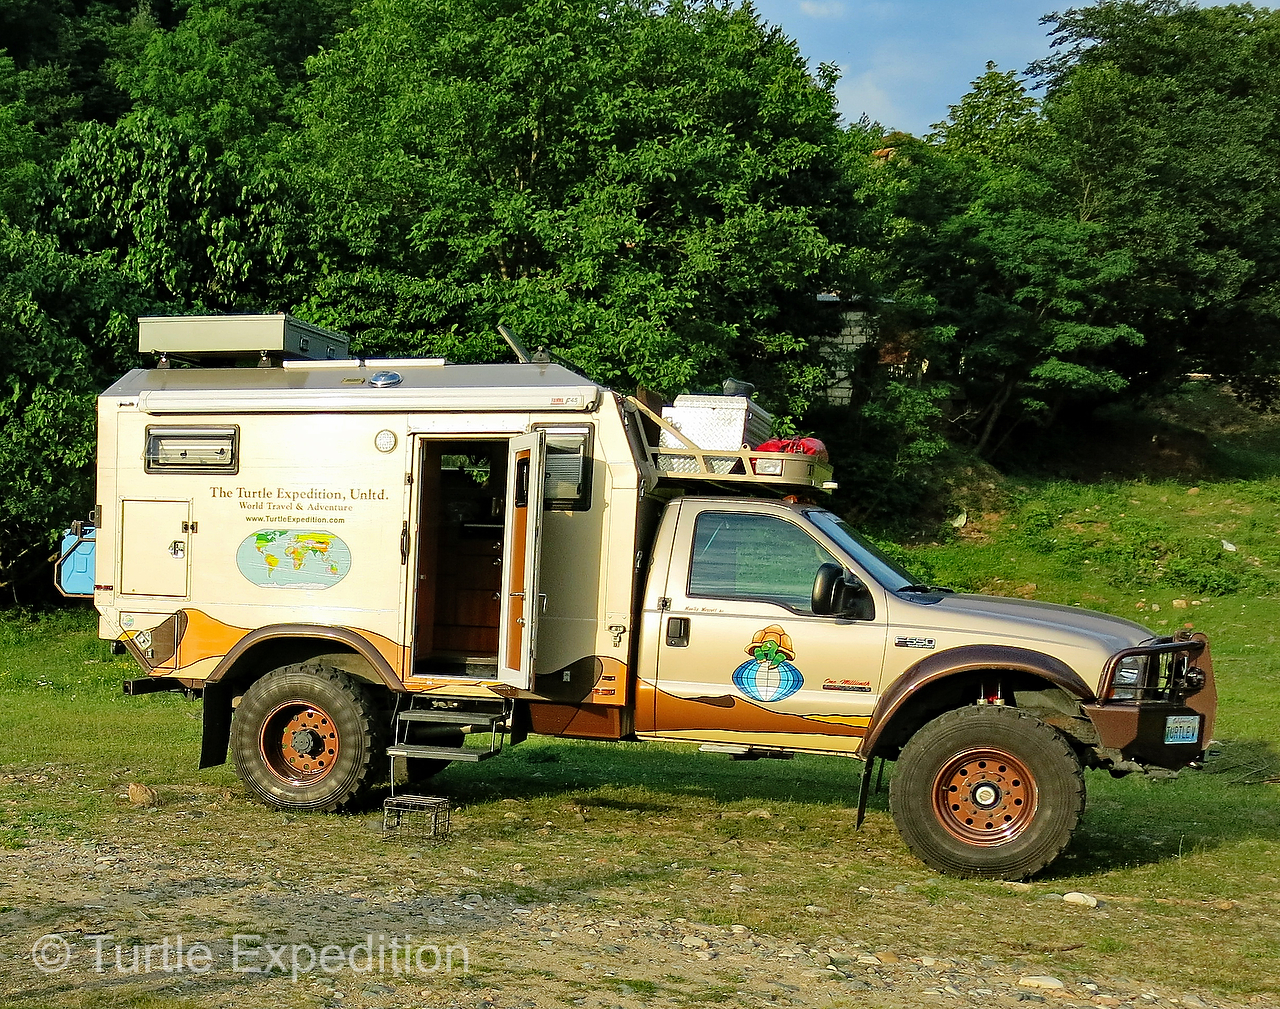
Entry Door
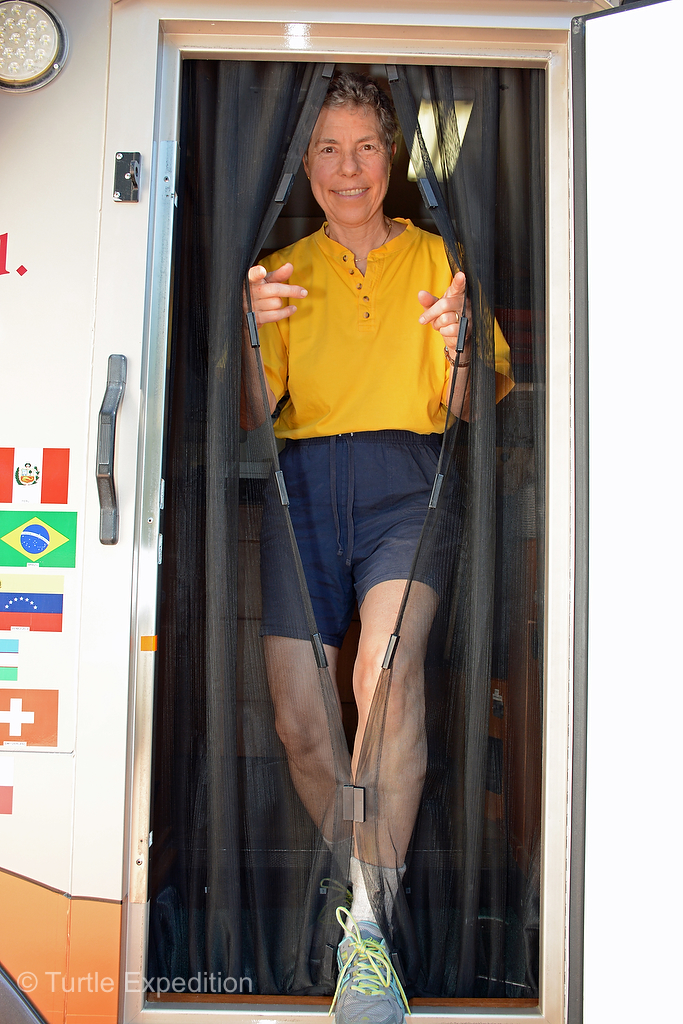
This is our newest version of a mosquito screen. Magnets snap back in place.
Playing around during the initial design phase, we decided that the best place for an entry door was on the passenger side in front of the rear wheel. A rear entry door like in The Turtles III and IV, is always dusty or muddy and the same thing can happen to a door behind the rear wheel. After we came back from our Silk Road/Around the World adventure in 2015, the entry door was replaced by Global Expedition Vehicles. It’s a great design, water and dust tight and has a secure locking mechanism. Monika recently sewed a two-part mosquito screen attached with Velcro that closes with magnets. The bottom is weighted down with a string of fishing weights.
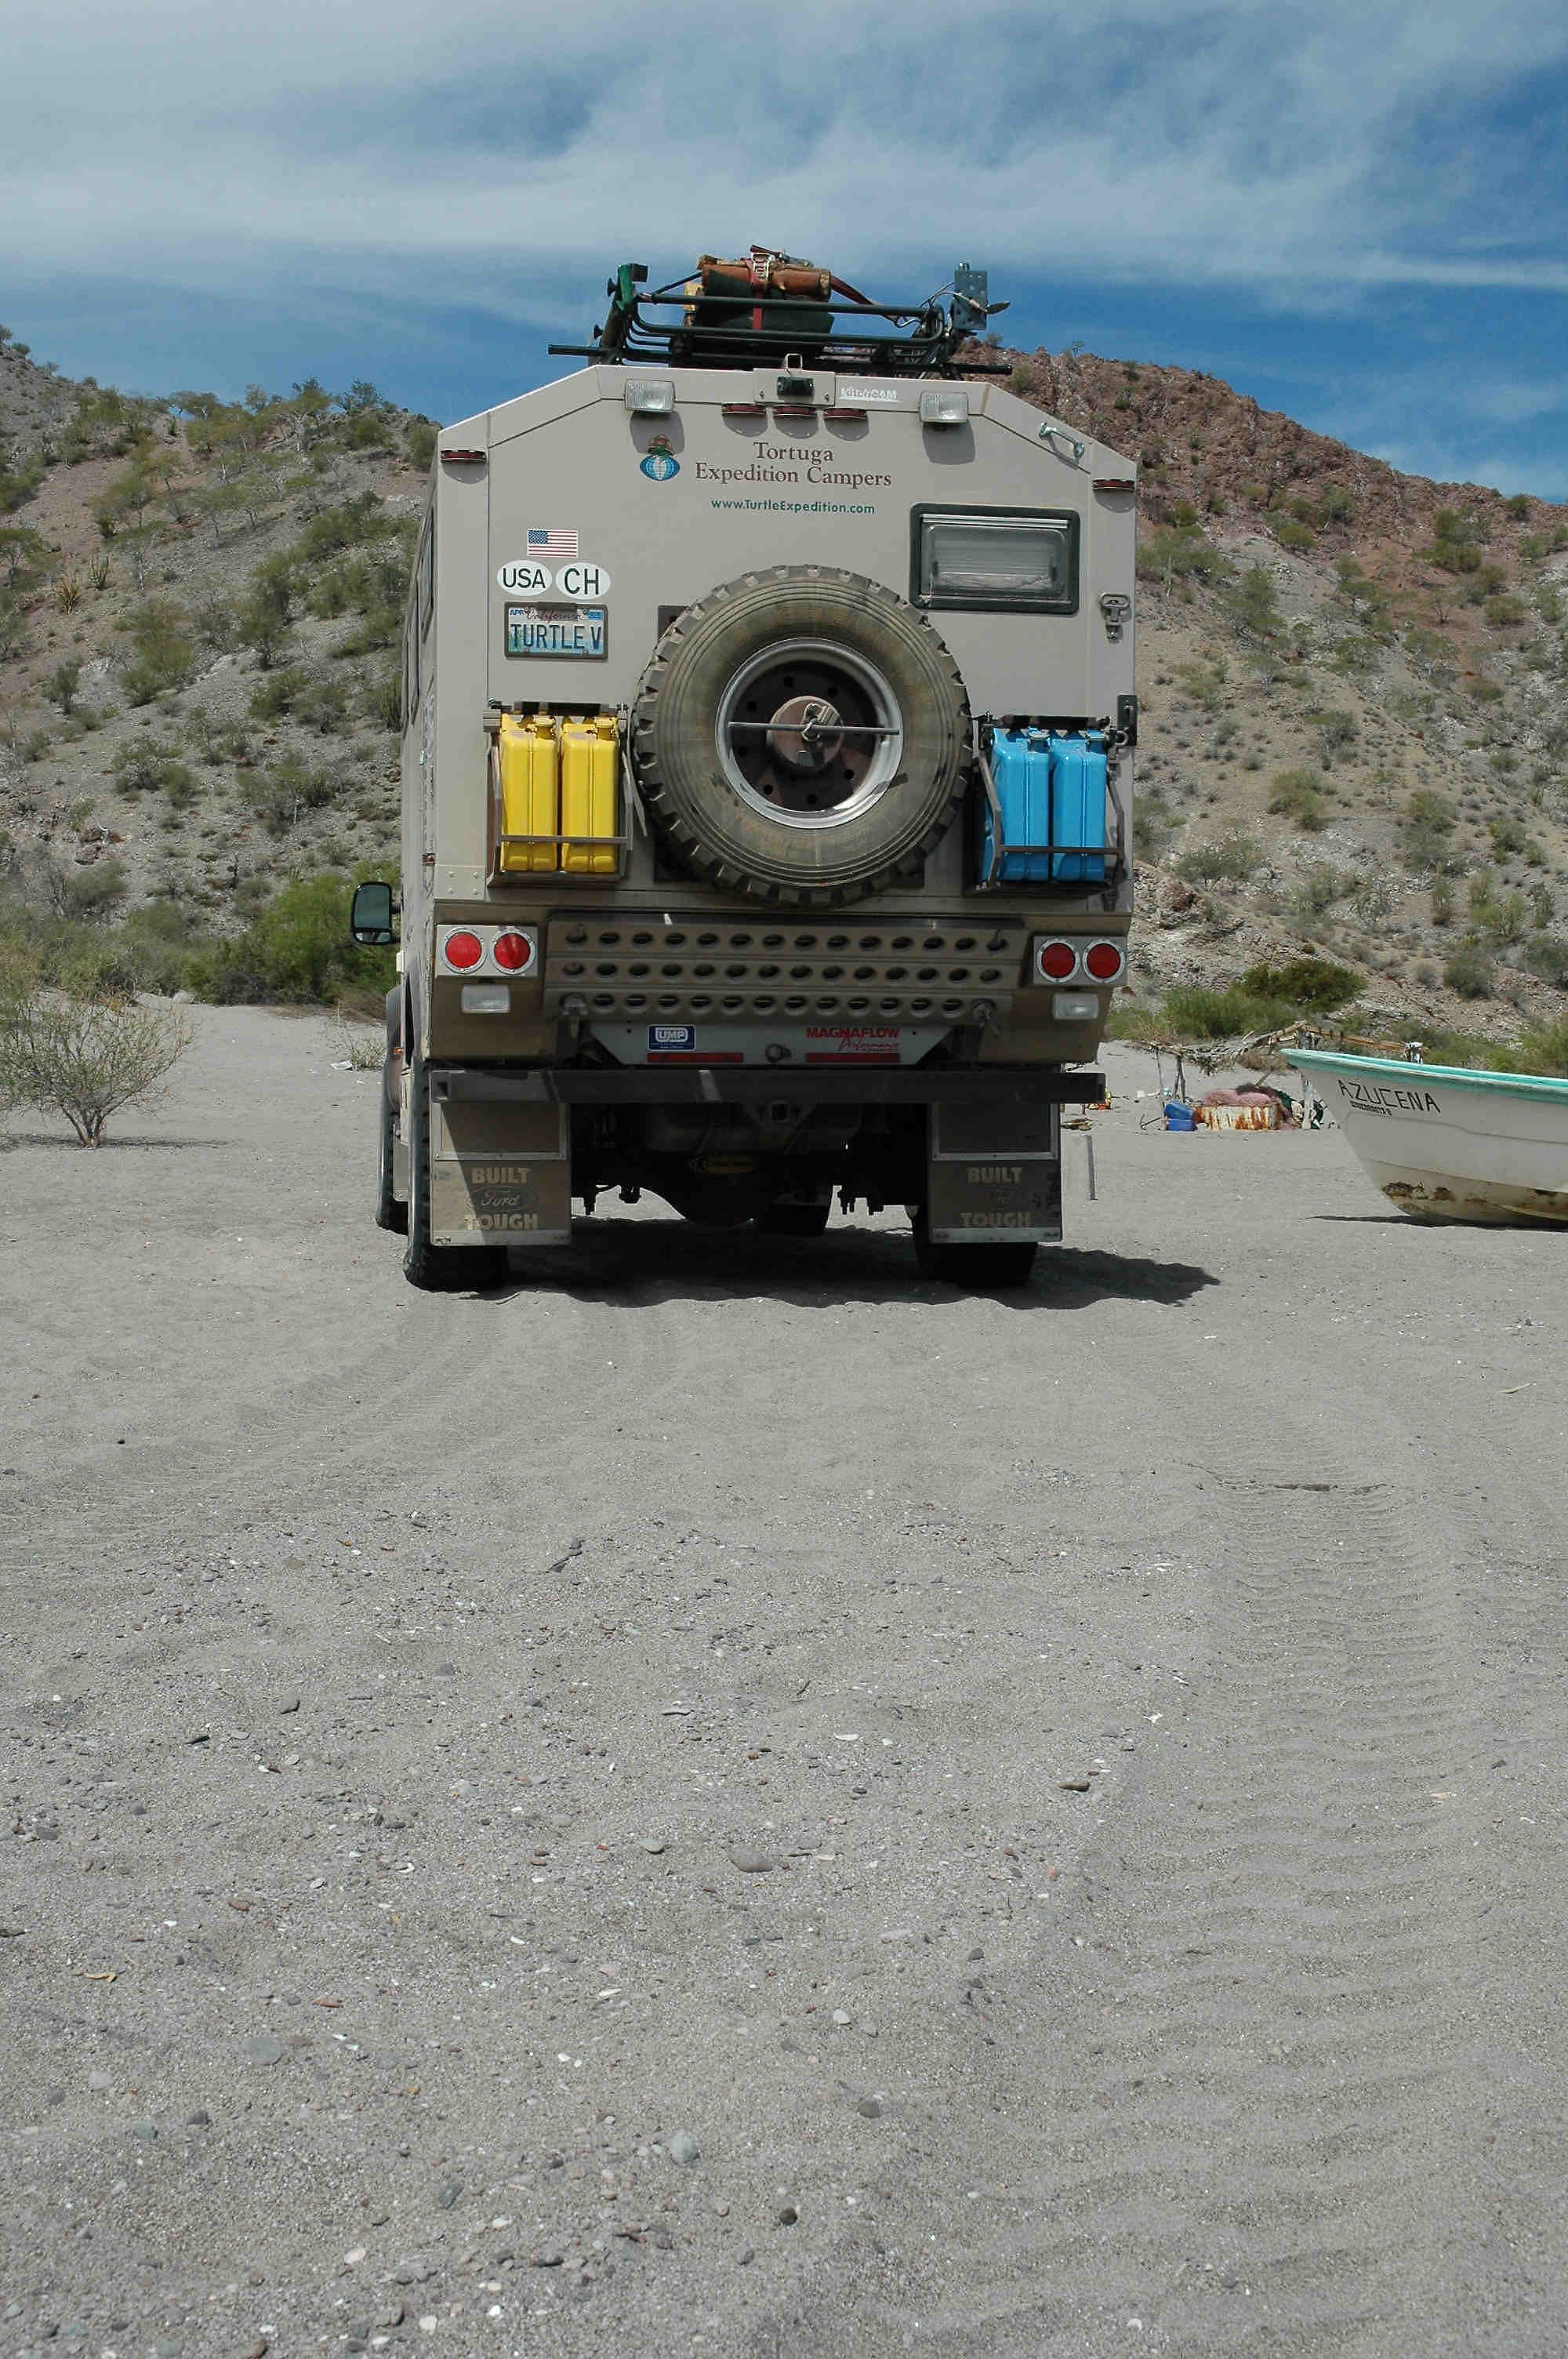
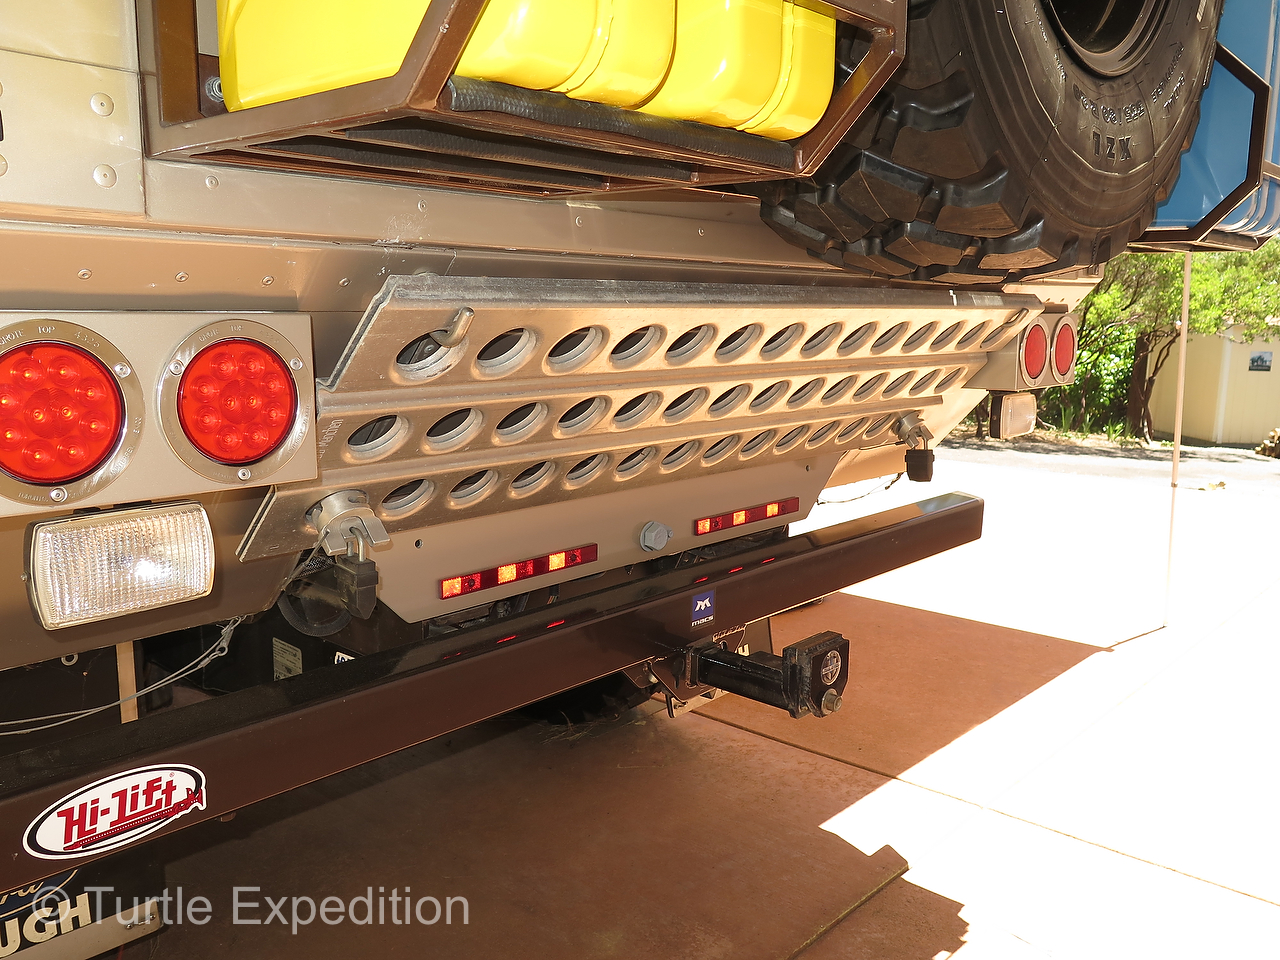
The Rear
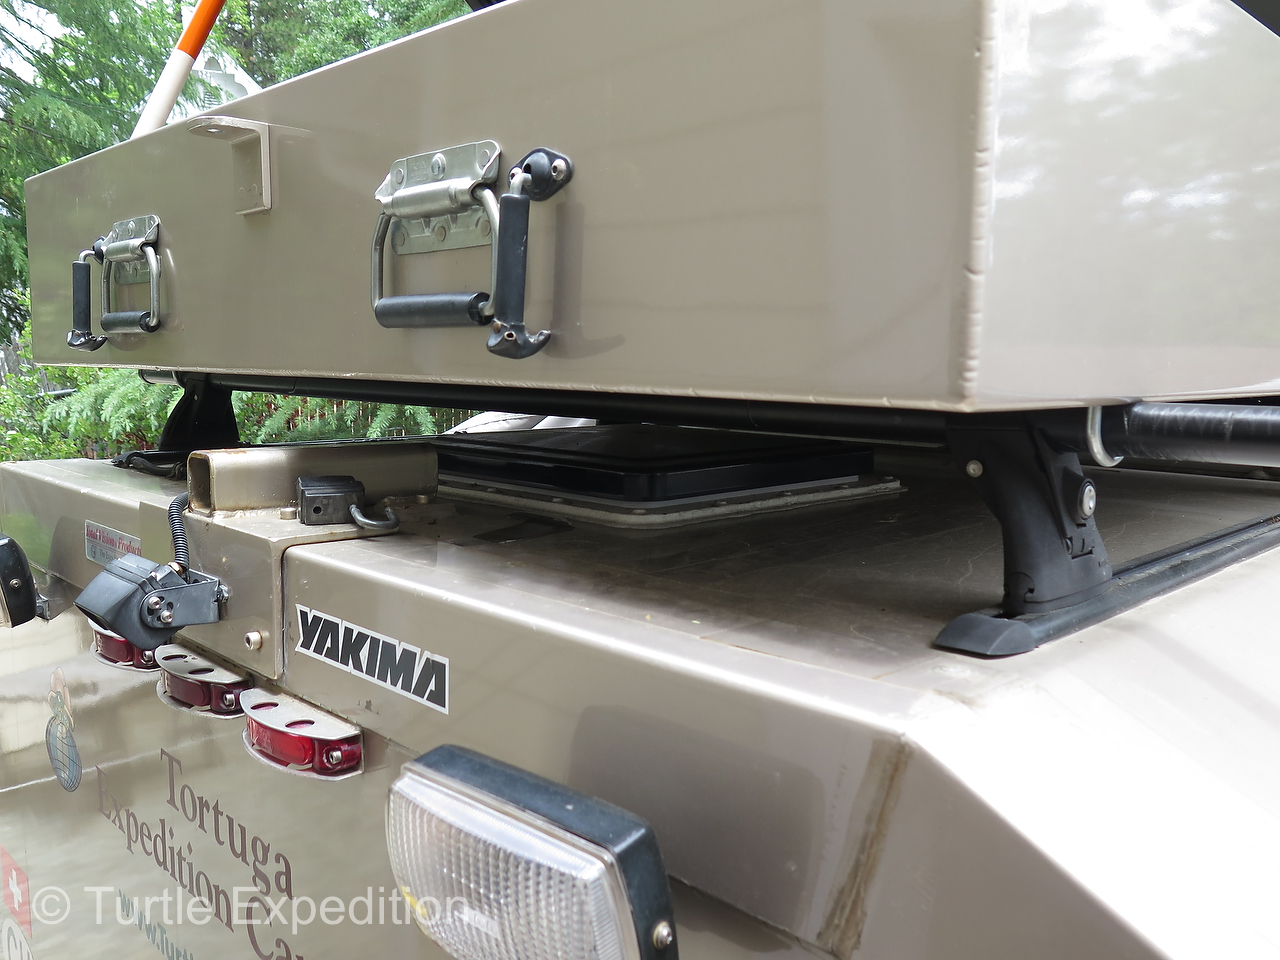
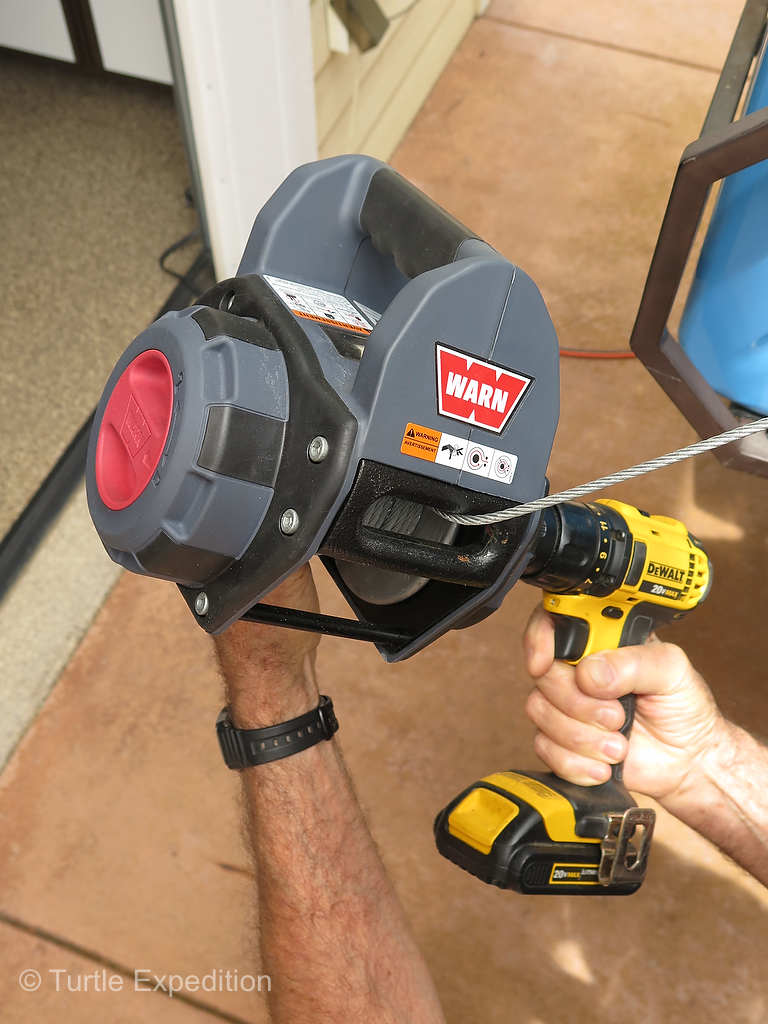
On the rear of the camper custom racks are securely bolted to the camper wall. They hold and lock two Nato-style water and two fuel cans by Midwest Can Co. and our spare tire in the center. The 198-pound tire and wheel are easily removed using a draw bar that fits into a receiver socket on the roof. A 500-lb capacity Warn Drill Winch lowers the tire to the ground. The Total Vision rear view camera is located below the receiver socket.
Oil Reservoir
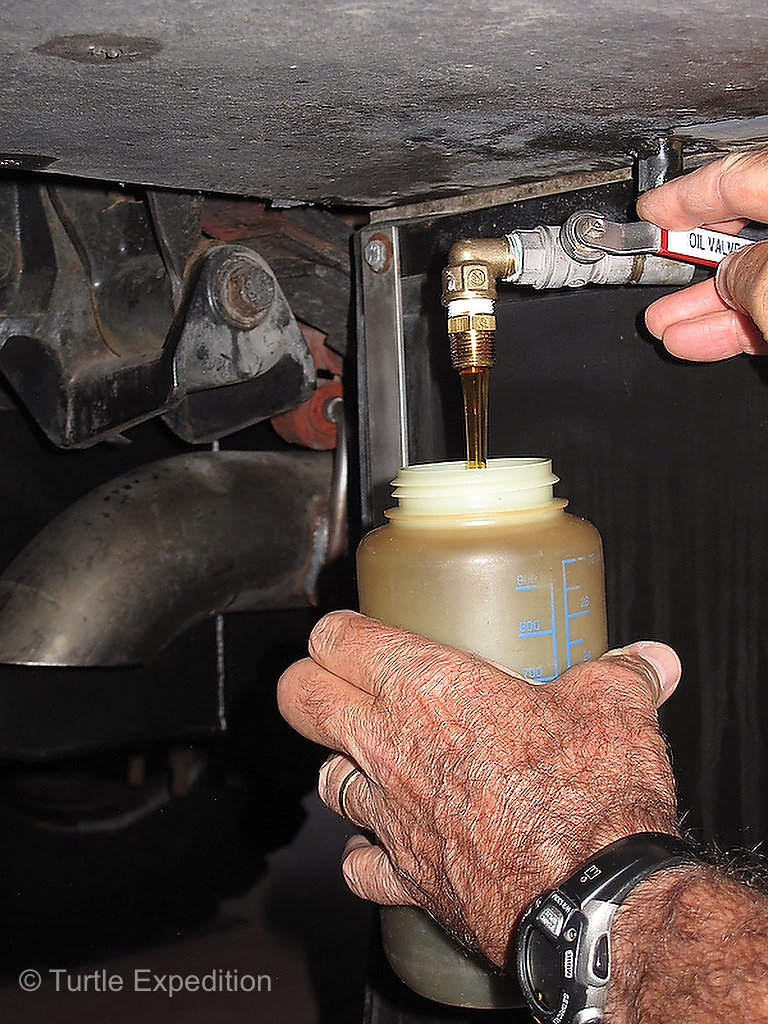
Amsoil is on tap from a 14-gallon reservoir built into the camper behind the wheel well.
On the right rear corner of the camper (behind the wheel well) we designed a 14-gallon oil reservoir that is filled from the inside and has a spout on the outside when we need a quart of oil. Quality oil, like the Amsoil 15/30 Heavy Duty Diesel Oil we use is the heart of our Power Stroke engine and cannot be found in some of the countries we travel through. Once in Kyrgyzstan, we drained our 15-quart engine sump and a shop wanted to pay us $5.00 for the oil we asked them to recycle! We gave him the oil and a hat.
Mud Flaps
Our PlastiColor mud flaps are extremely important for keeping all kinds of slop off the sides and back of the truck. We reinforced them to limit flapping. When backing up in deep water, brush, sand or snow, quick-connect cables keep the mud flaps from being damaged by the tires.
Steps and Milk Crate
Heavy duty folding steps give us access to the top storage boxes or to clean the solar panels. When they are folded flat people and especially children don’t seem to be tempted to climb on them.
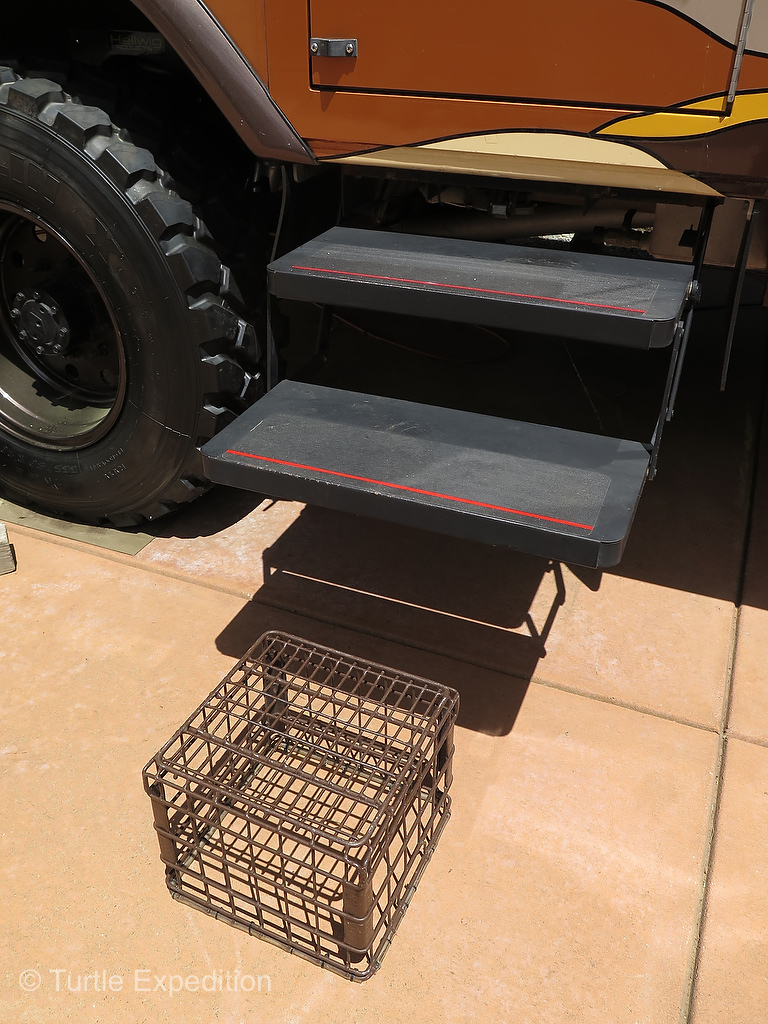
A double Kwikee Electric RV step and a milk crate are the perfect solution to enter the camper.
For easy entry into the camper, we installed a double Kwikee Electric RV Step. It is on purpose that it does not open automatically, only by a control switch inside the doorway.
The milk crate, reinforced and powder coated, is an amazing piece of travel equipment. It’s a step. You can sit on it. Stand on it to check the engine or wash the windshield. You can keep fish fresh in a tide pool. Flip it over and clean fish on it. Carry fresh vegetables in it. And by the way, when you wipe mud, sand or snow from your shoes, it falls to the ground. We lock it on with a custom cable and an American Lock.
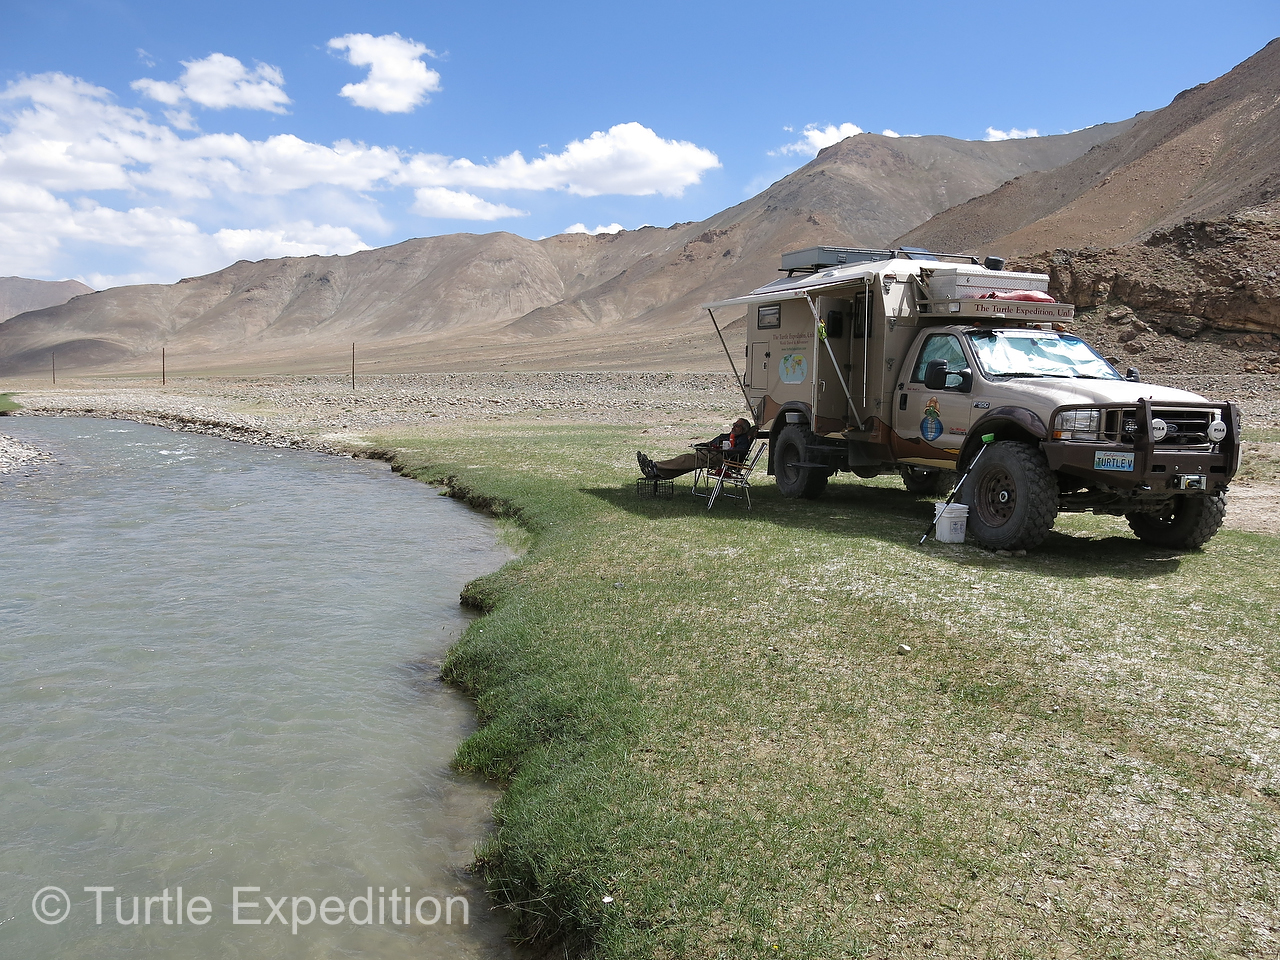
Tajikistan 2014: We could have easily stayed here for a couple of days but China was calling.
-
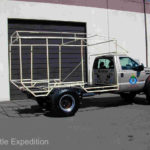
- First we constructed a wood prototype—stick and staple.
-
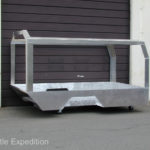
- An aluminum exoskeleton was fabricated and welded at all joints.
-
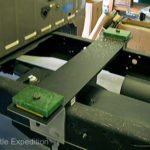
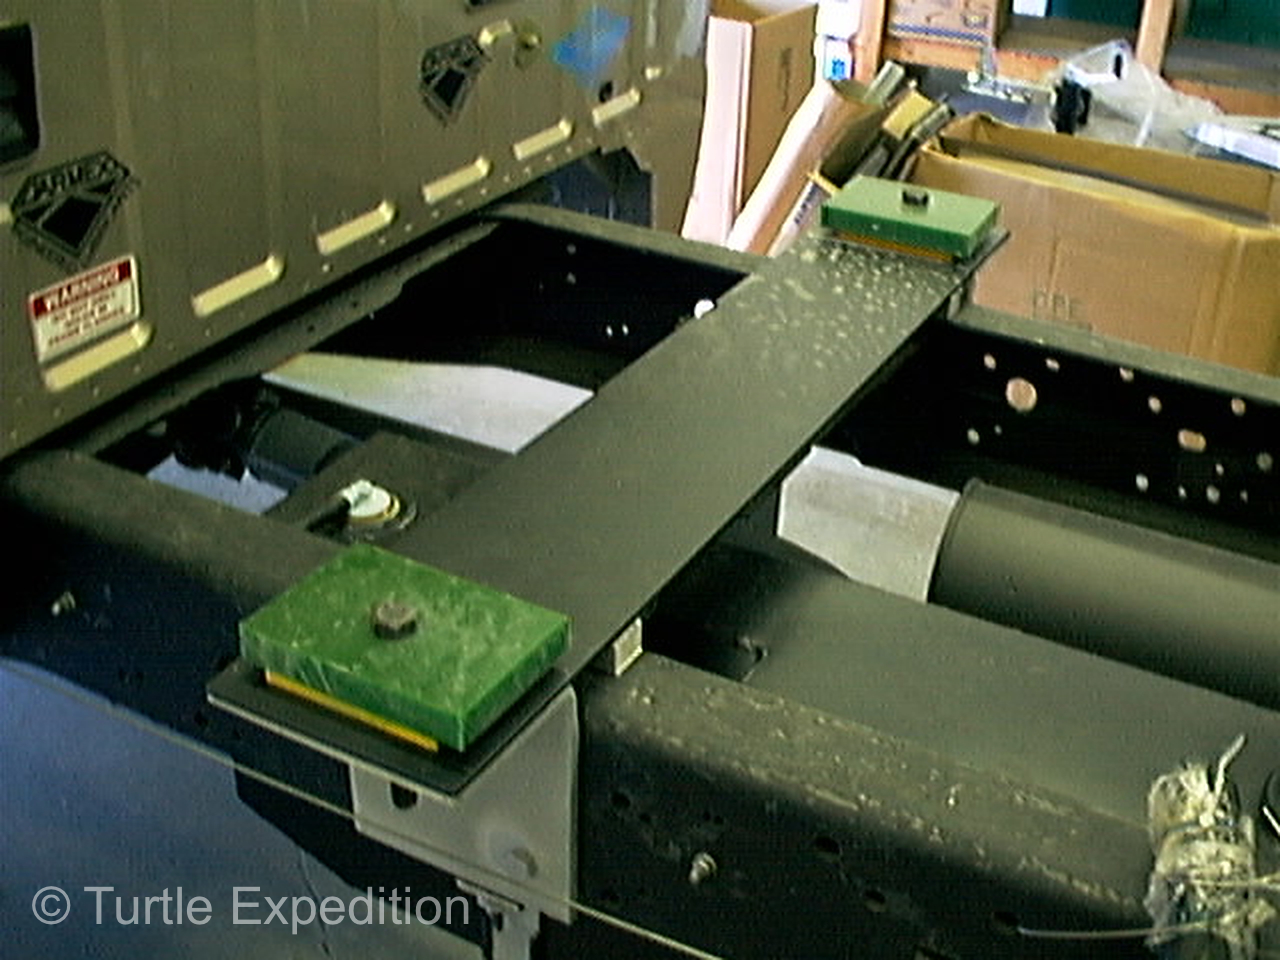
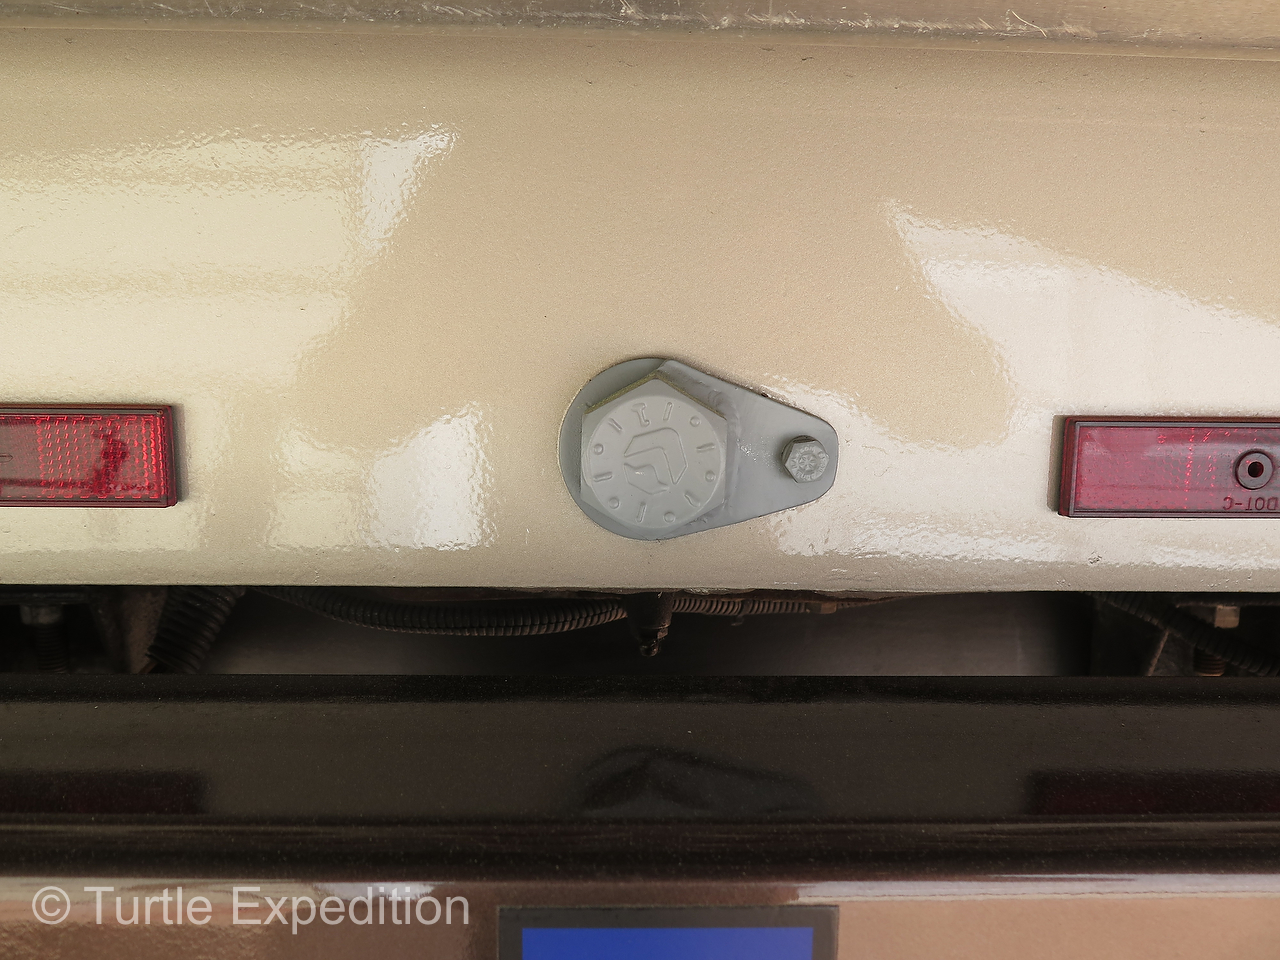
- There are two supporting pads at the front which are bolted through a steel plate inside the camper Nidacore box.
-
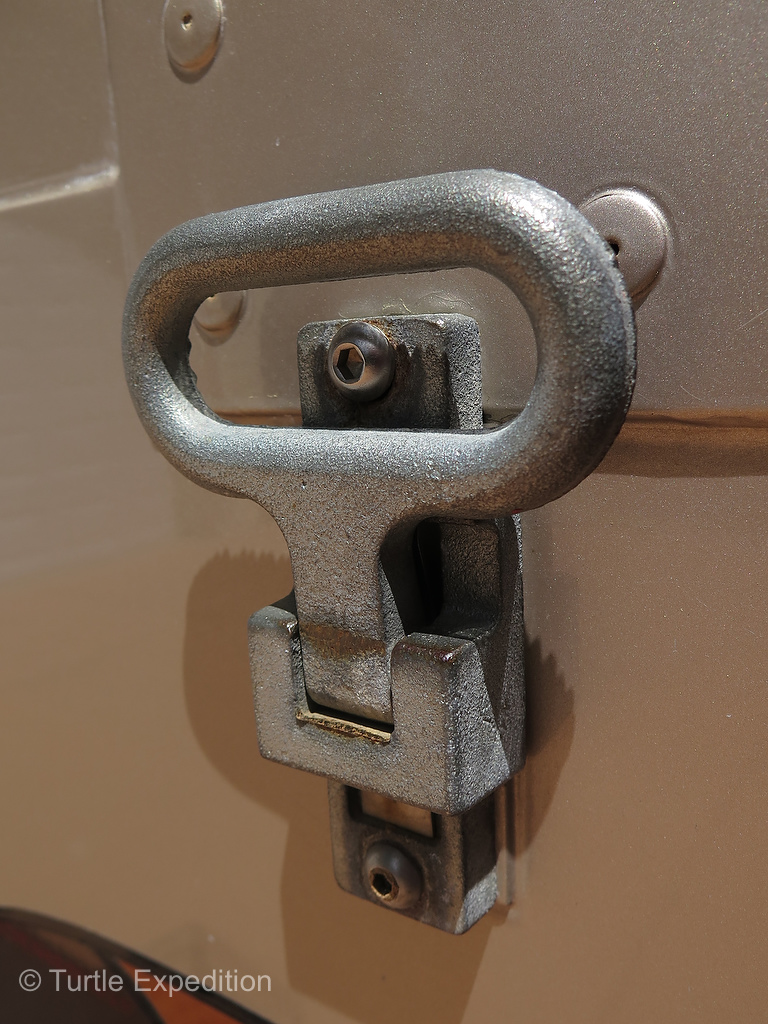
- A large pivot bolt at the rear completely isolates the camper from the twisting of the frame.
-
- The large pivot bolt in the back isolates the motion of the frame from the camper.

-
- This completely isolates the camper from the twisting of the frame. You cannot twist a box. It will break apart!
-
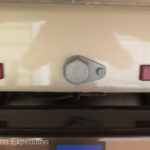
- A close-up of the critical pivot bolt that separates the movement of the chassis from the camper.
-
- A Max Devise slides into the rear trailer hitch receiver. The Darr sand ladders store outside the big compartment in the back.

-
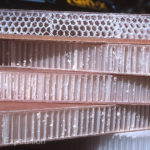
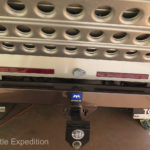
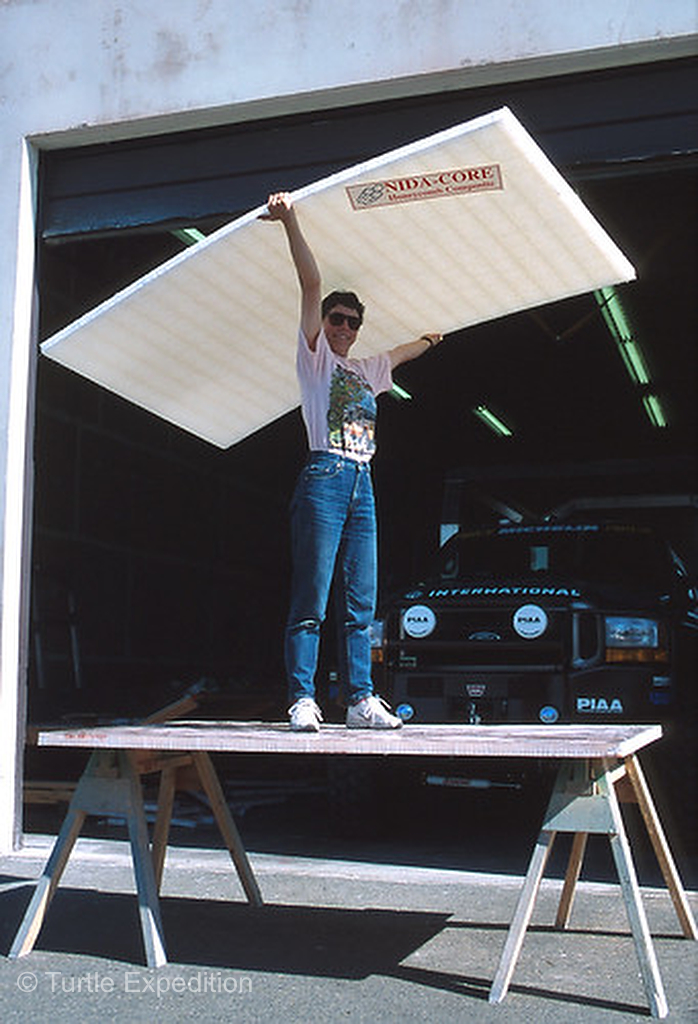
- Nida-Core is extremely light with a high insulation R value. The Nida-Core honeycombs are cellular structures with an 8 mm mesh made of polypropylene.

-
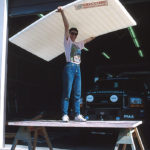
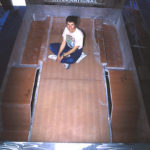
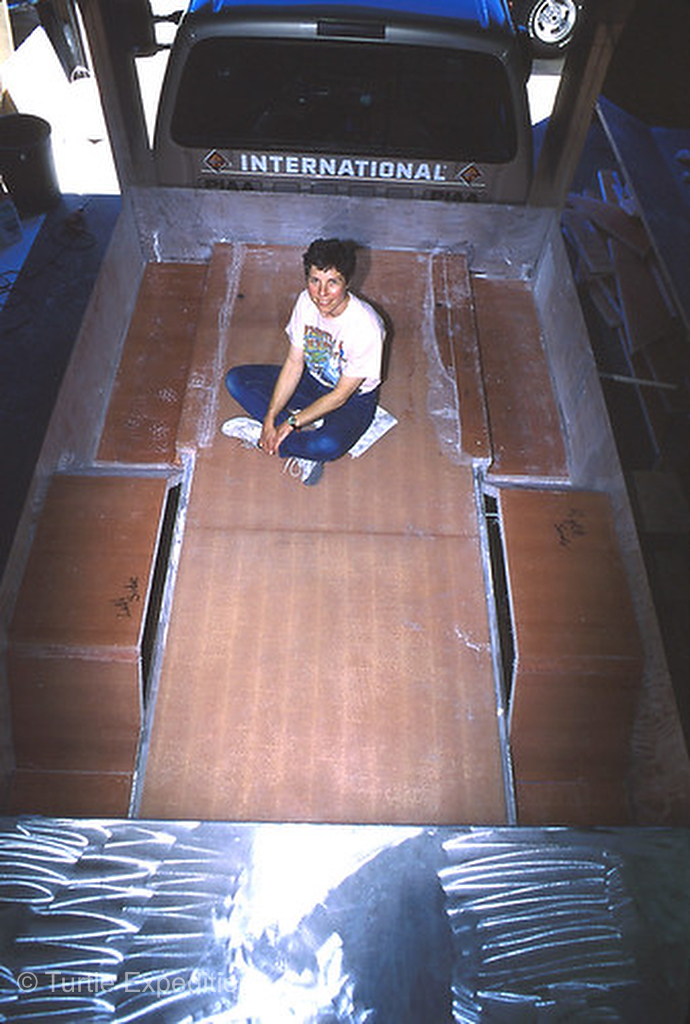
- Monika is holding one of the light Nida-Core panels before it was coated with fiberglass on both sides.
-
- When Nida-Core is skinned with fiberglass it becomes extremely strong and ridged.
-
- We had no CAD program. We simply placed the contents; water tank, batteries, refrigerator, stove etc. and took measurements to draw a plan.
-
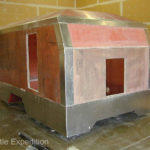
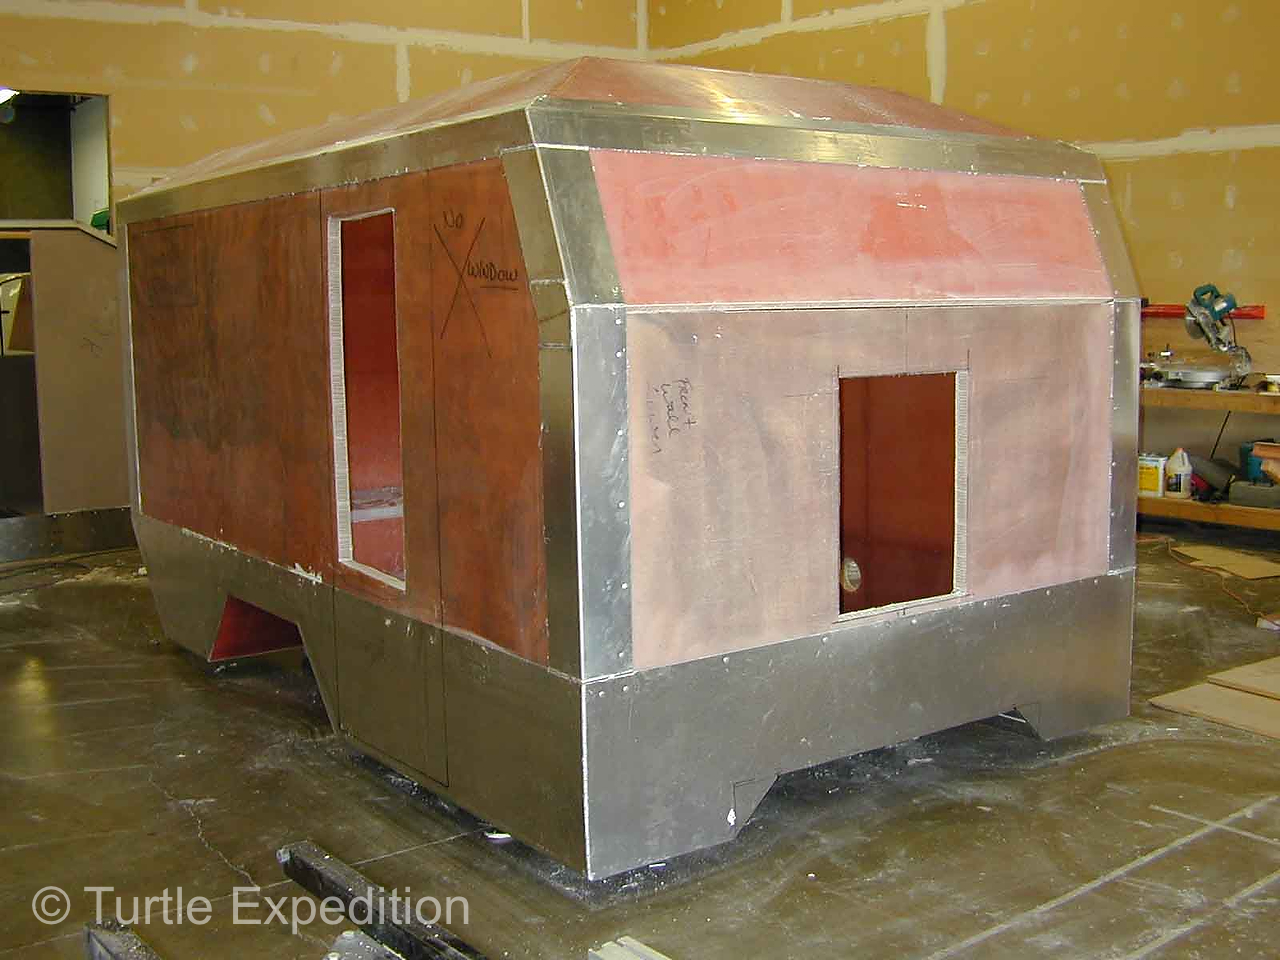
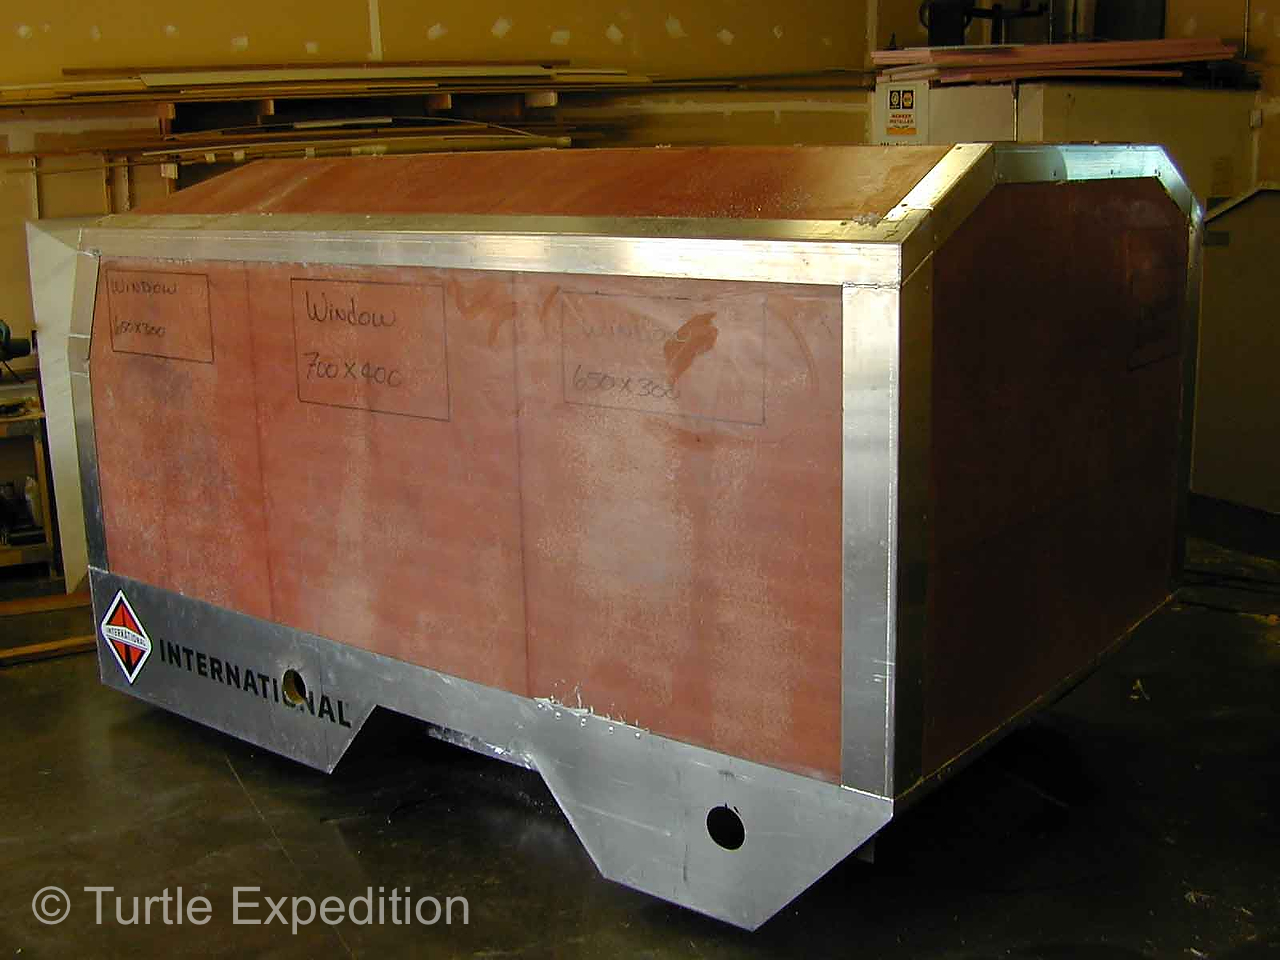
- The door and pass-thru were cut and Seitz windows were ordered, sized to be too small to climb through but plenty large enough see out and for ventilation.
-
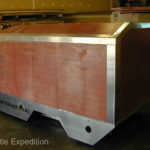
- The Turtle V camper shell is ready for cutting out the openings.
-

- Almost ready for the paint shop.

-
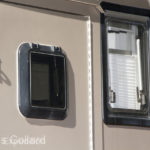
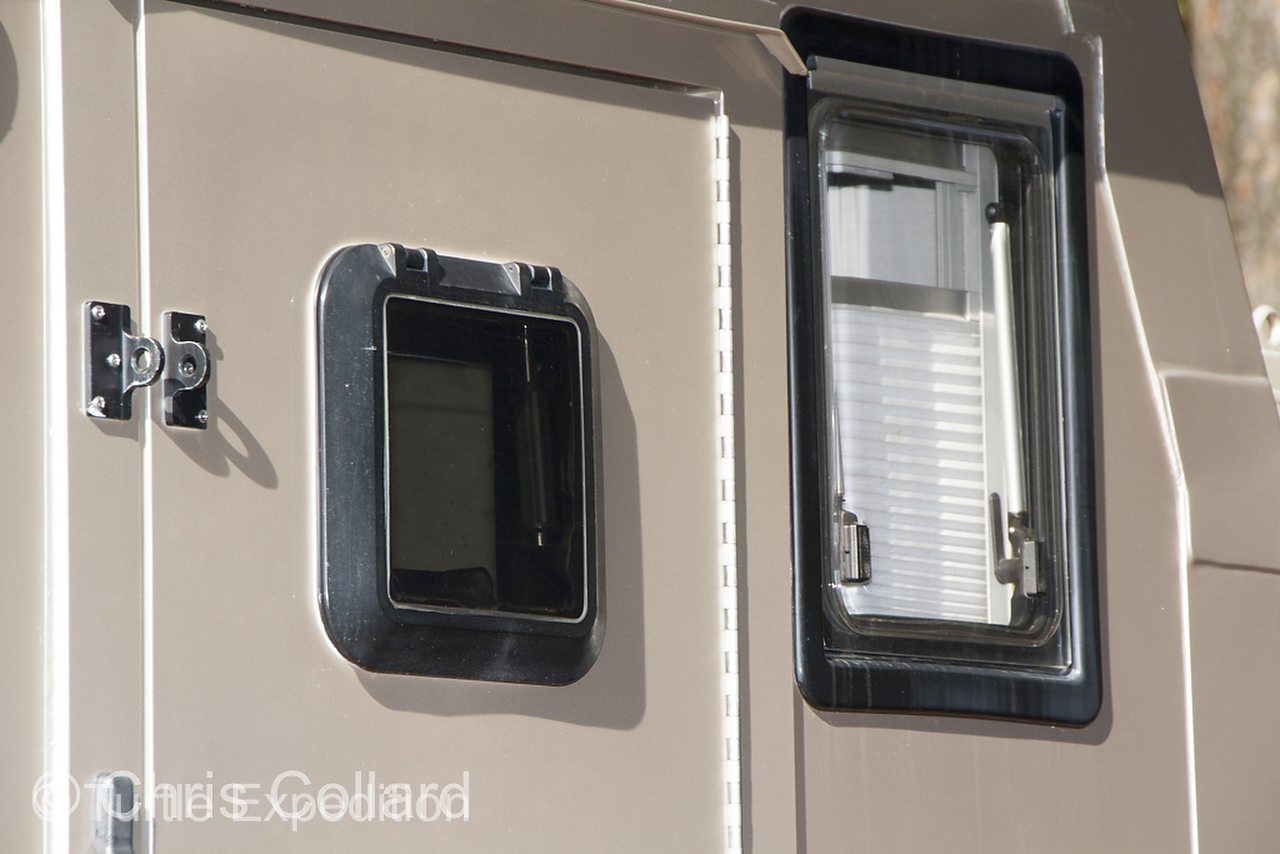
- We installed a small window to be able to peek out the door without opening it.
-
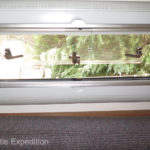
- Seitz, (Dometic), windows are from Germany. They are Lexan, double-pane, with built in privacy and mosquito screens.
-
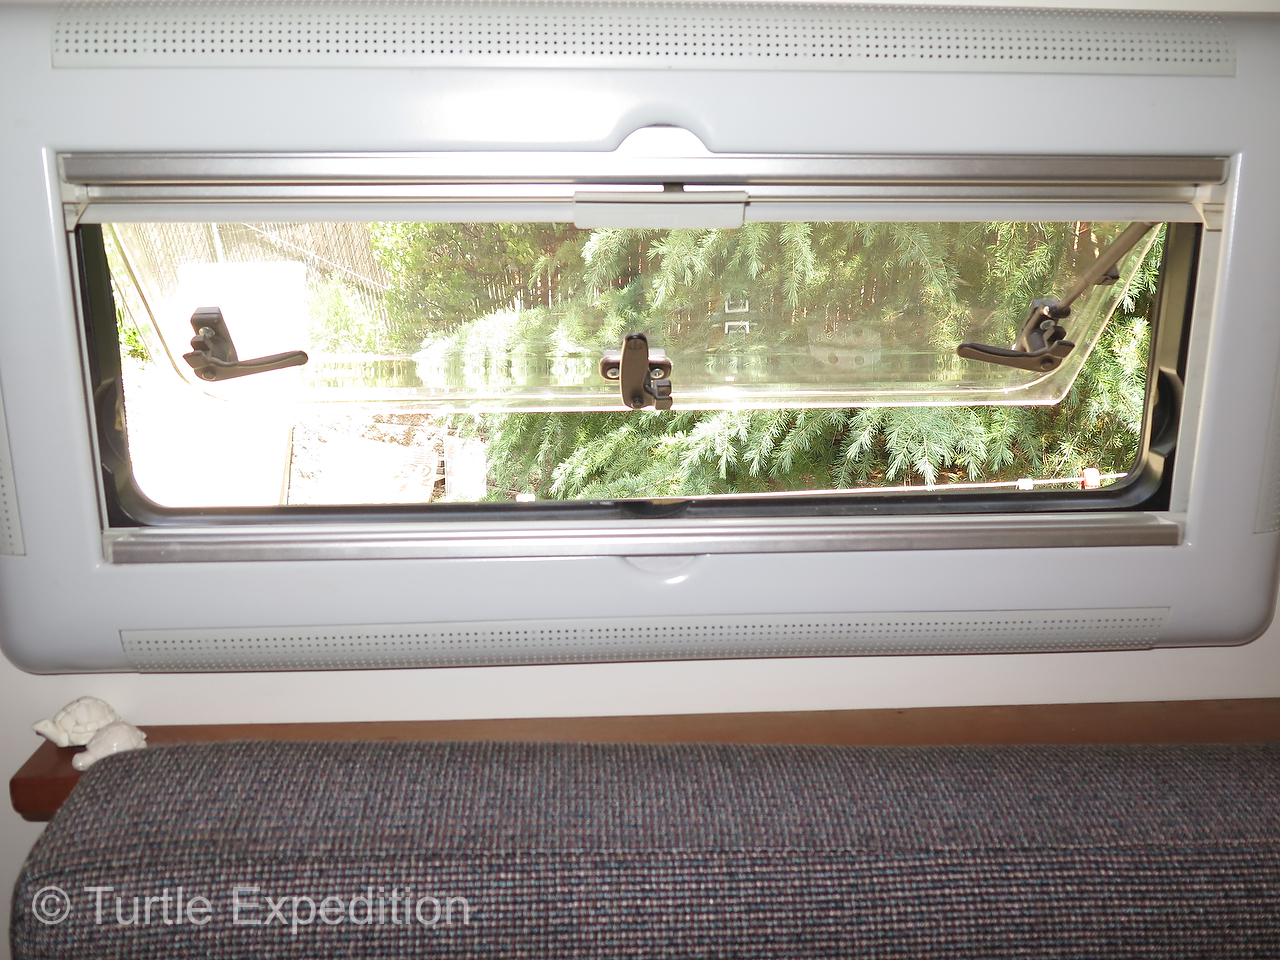
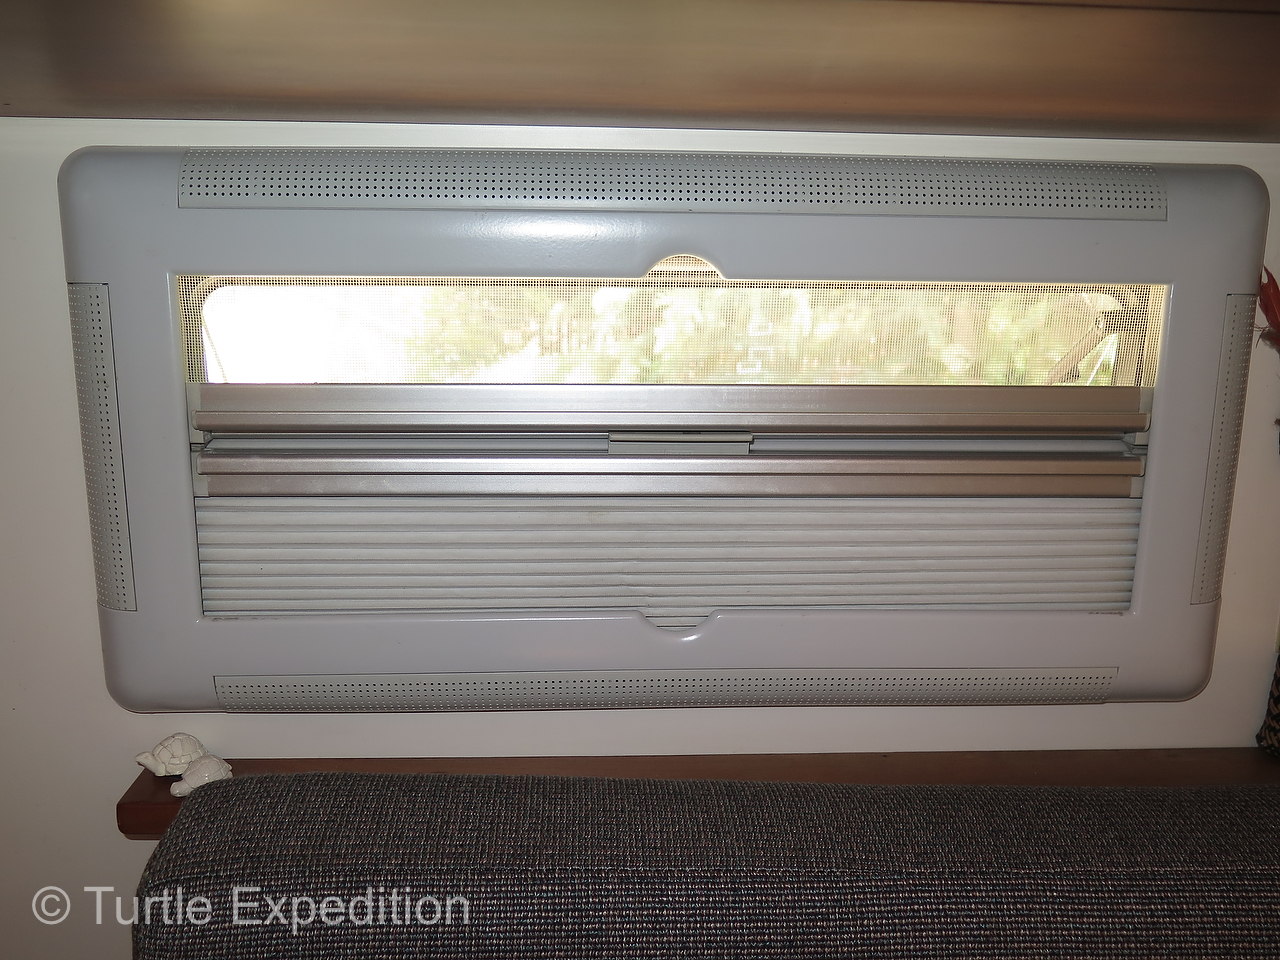
- The Seitz windows can be opened for ventilation in a locked position with privacy and mosquito screens positioned at any level.
-
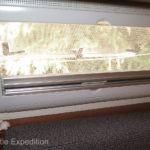
- The mosquito screen gets pulled down while the privacy screen is pulled up. A very good idea other window manufacturers should copy!
-
- Full ventilation without bugs is a real plus.
-
- On the roof we installed a system of Yakima permanent rack rails. The Yakima rails accommodate low-profile Yakima Skyline Towers and cross bars to which we can attach racks for a canoe, kayaks, or a Yakima ski box.
-

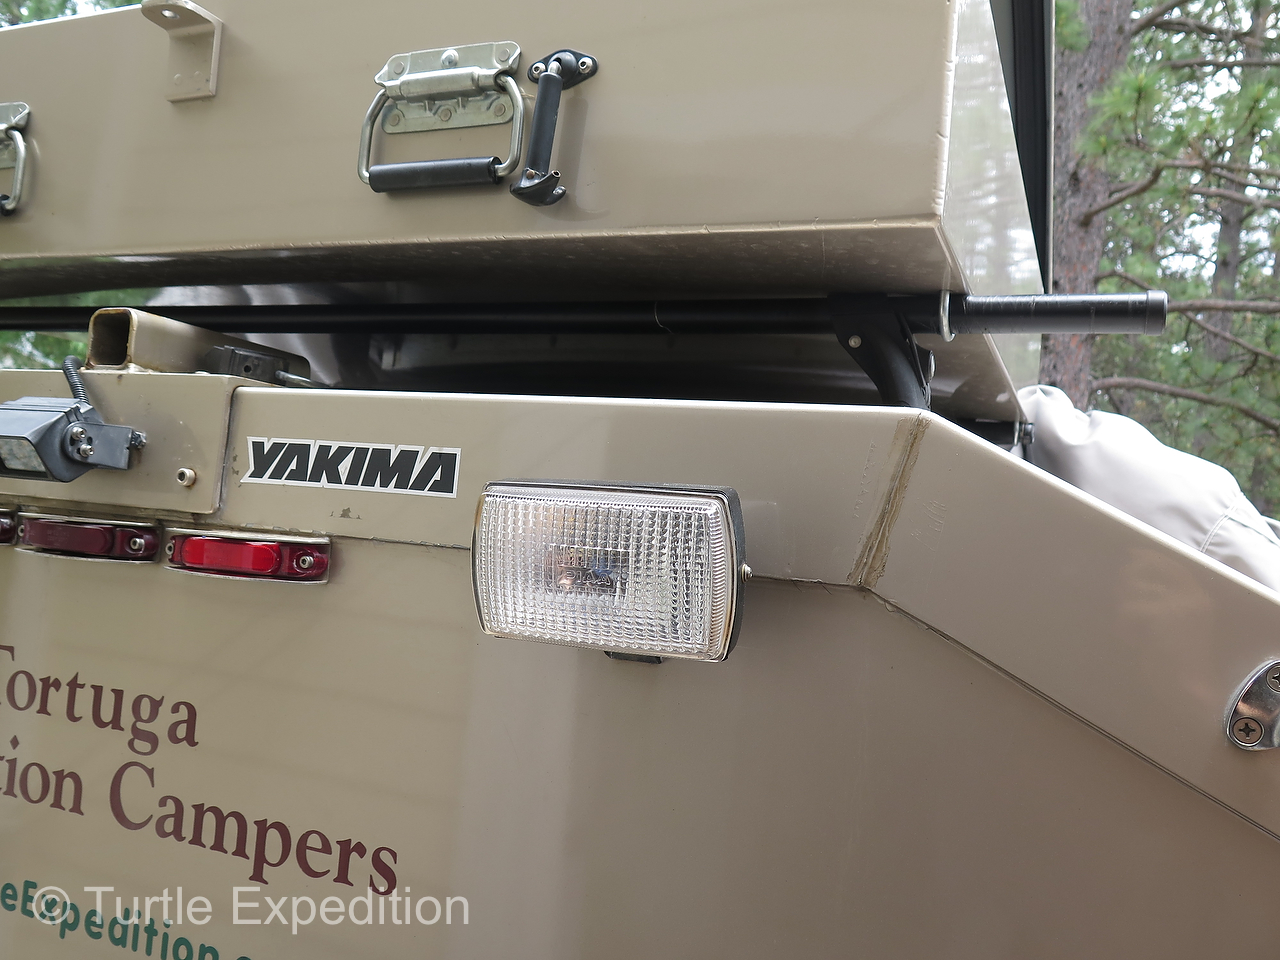
- With the storage box mounted, we are still able to open the rear Fan-Tastic vent for air circulation.
-

- Below the storage box is the 2″ receiver socket mounted on the roof. A bar is inserted to lower the spare tire. The Total Vision rear camera is mounted below that.
-
- The rear storage box can be removed and a canoe can be slid over the Yakima cross bars.
-
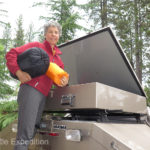
- On a lengthy expedition storage for maintenance parts, clothing and outdoor equipment is critical.

-
- The rack over the cab is multi-purpose. A Weather Guard locking storage box is perfect for little things with still room for extra fuel or water cans or a load of firewood.

-

- In front of the WeatherGuard box we still can add other bulky items as need arises.
-
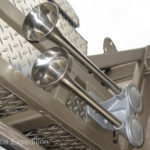
- The rack afforded a convenient place to bolt a pair of Fiamm stainless steel marine air horns. Loud horn is an international language.

-
- A remote-control GoLight has a good field of view from the Weather Guard lid.

-
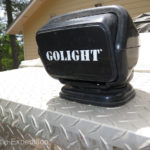
- The GoLights sits right on top of the WeatherGuard box on the front rack.
-
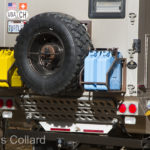
- On the rear of the camper custom racks are securely bolted to the camper wall. They hold locking racks for two water and two fuel cans, and our spare tire in the center.
-
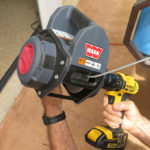
- The 198-pound tire and wheel are easily lowered using a draw bar that fits a socket on the roof. A 500-lb capacity Warn Drill Winch lowers the tire to the ground.
-
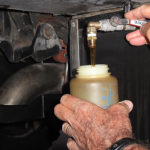
- Amsoil is on tap from a 14-gallon reservoir built into the camper behind the wheel well.
-

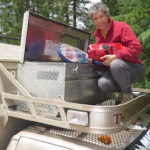
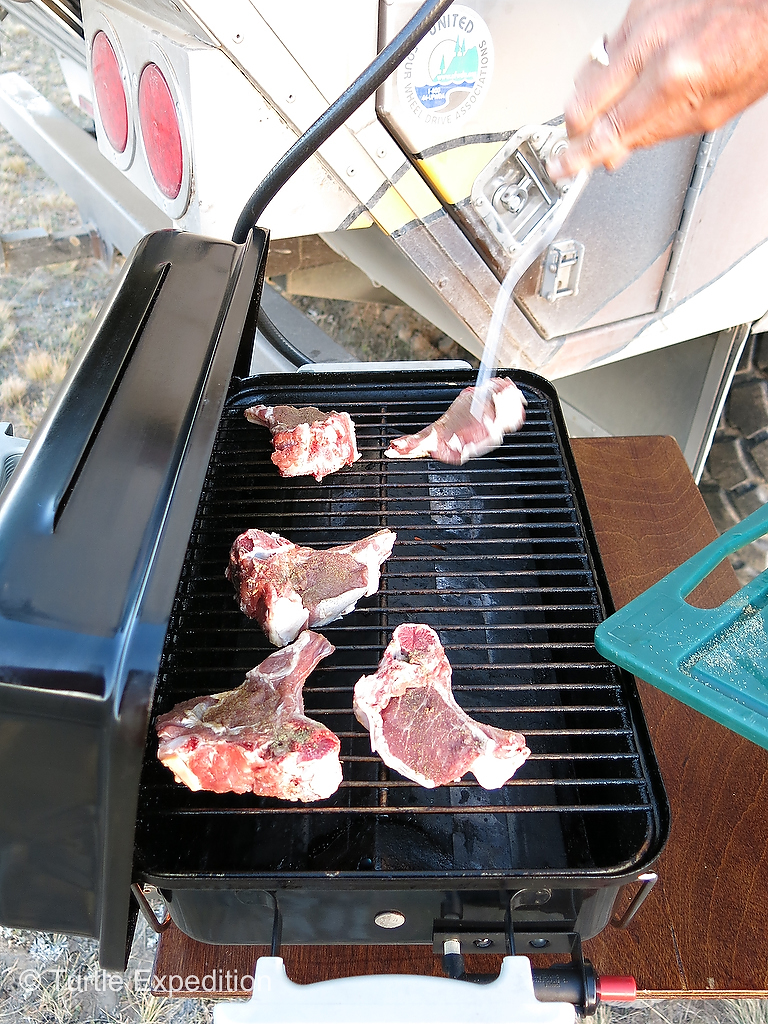
- We do carry a portable grill for a real fire BBQ, but our Weber Go-Anywhere is first choice for a quick dinner.
-
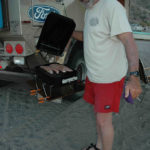
- The BBQ Chef is inspecting his work.

-
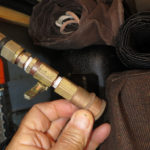
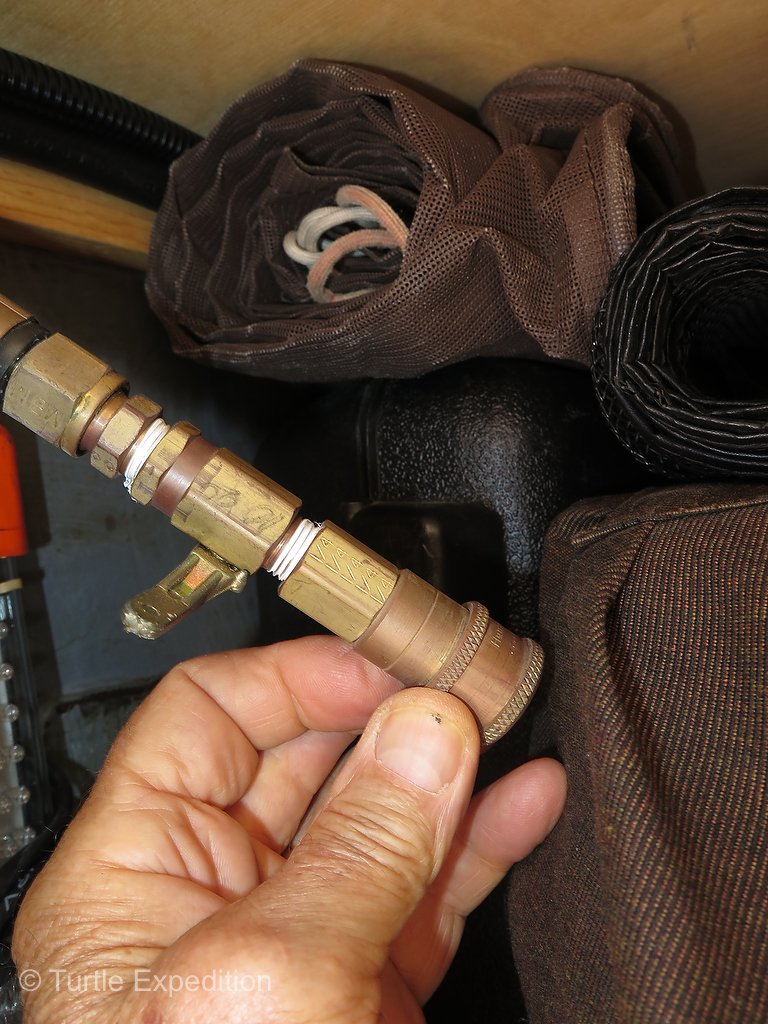
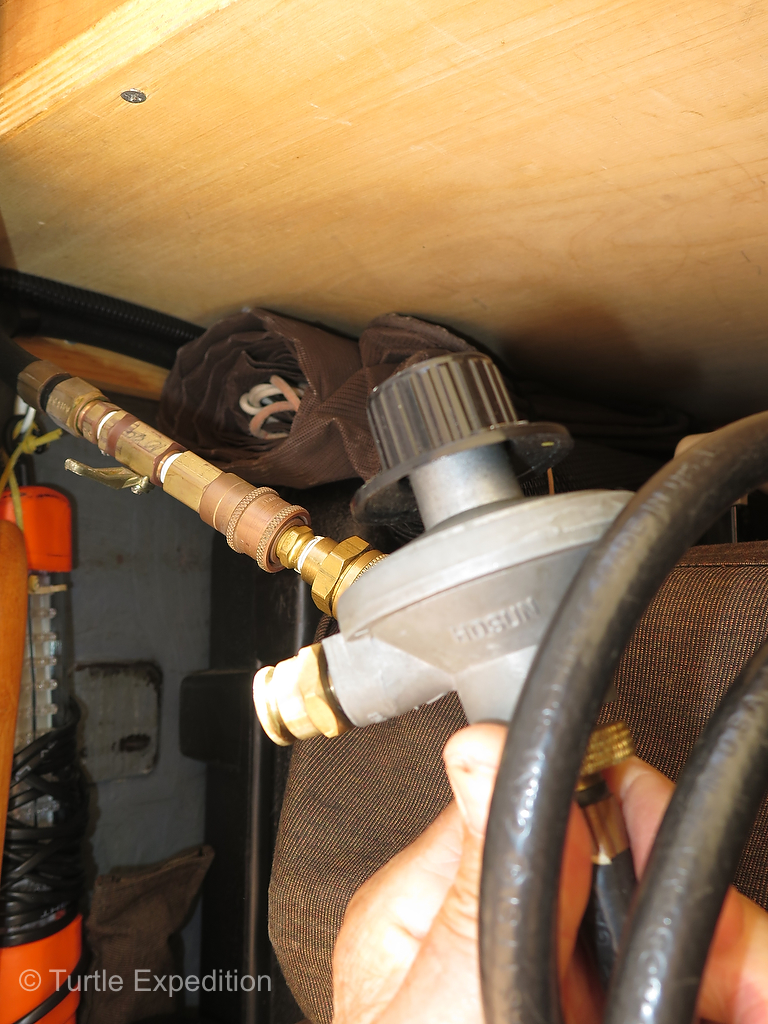
- Our Weber Go-Anywhere grill plugs into a quick-disconnect from our main propane tanks.
-
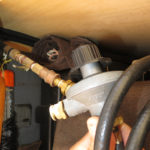
- The regulator and the hose for our propane powered Weber Go-Anywhere BBQ connects to our main propane tank on other side with a quick disconnect.
-
- A Warn quick disconnect plug allows us to use the camper batteries for jumper cables for ourselves or another vehicle.
-
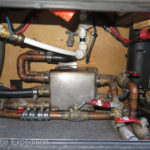
- A series of manifolds and valves allow us to direct the hot coolant from the engine or the D5 Hydronic to whatever we need to heat. A water tank drain and an external water outlet is very convenient.
-
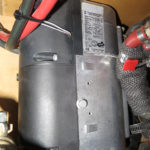
- The Eberspaecher, (Espar), D5 Hydronic Coolant Heater heats the engine coolant to about 160°F and pumps it through transfer manifolds to whatever we need to heat; engine, camper or Kelvion plate heat exchanger water heater or all three at the same time.

-
- Pumping cold water through the Kelvion Plate heat exchanger and then through a Watts Series MMV thermostatic Mixing valve produces 120°F tap water in about three minutes.

-
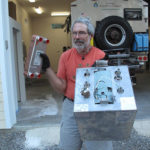
- The Kelvion Plate heat exchanger in my right hand replaced the inefficient 6-gallon marine water heater.
-

- The Watts Series MMV thermostatic Mixing valve cools the 160°F water from the Kelvion Plate heat exchanger down to a safe 120°F tap water in about three minutes.
-
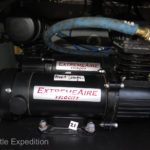
- Dual ExtemeAire Magnum 12 Volt compressors keep our aluminum 5-gallon AccuAir reserve tank topped up 120 psi. Our ARB Locker, air horns and Hellwig suspension air bags depend on them.

-
- The Dual ExtemeAires can take our 41” Michelin XZLs from 30psi to 55psi a little over a minute.
-
- The compartment for our two Manchester LP tanks was measured to fit parts and repair boxes with no space lost.

-
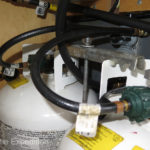
- Propane tanks must be securely anchored for all road conditions but easily accessible. This pair of 20-lb Manchester tanks will last over two months and can be refilled anywhere in the world.
-
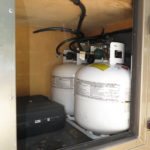
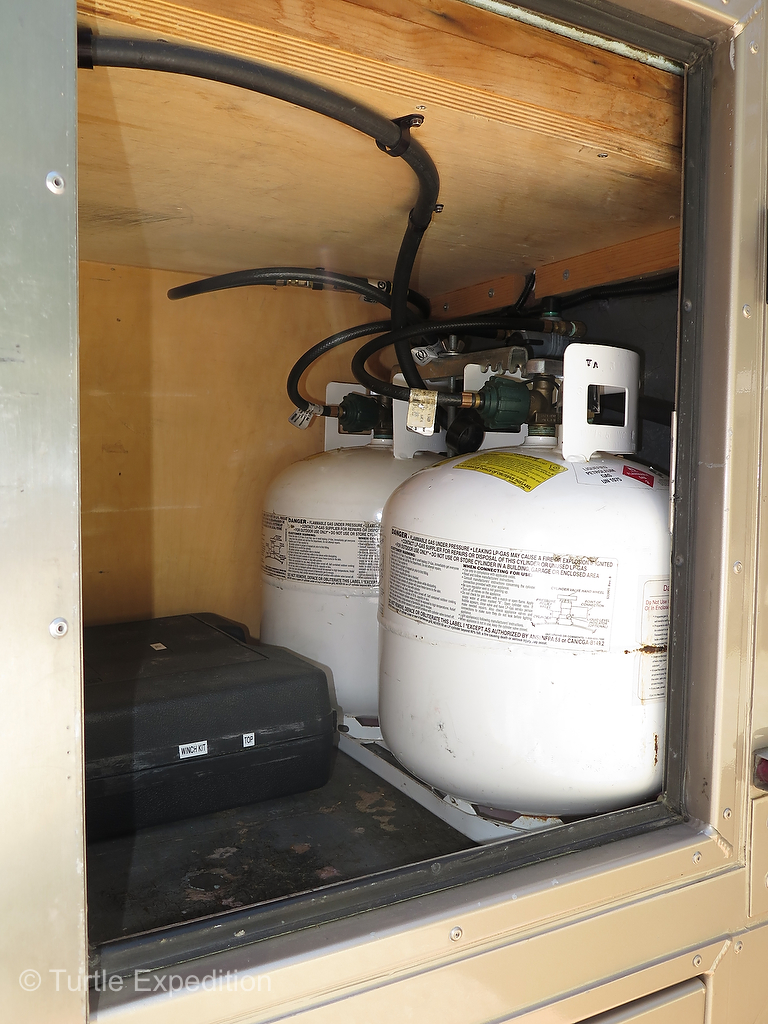
- Our Warn winch kit fits perfectly next to our LP tanks. It holds cables, straps, chains, snatch-block, gloves and other extraction gear.
-
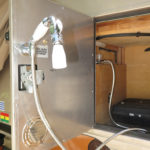
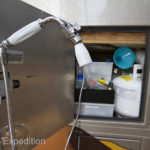
- An outside shower is often a great convenience. We throw a sand ladder down for a shower mat.

-
- Side compartments go all the way across the back so fishing poles and other long gear will fit.
-
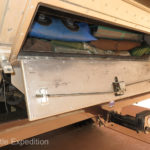
- The big compartment at the rear of the truck can also be accessed from each side.
-
- Sand ladders are needed if we are stuck in sand, mud or snow, but they also work for a shower mat outside and you can lay tools on them or clean a fish.
-
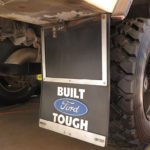
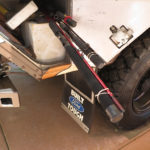
- Our PlastiColor mud flaps are extremely important for keeping all kinds of slop off the sides and back of the truck. We reinforced them to limit flapping.

-
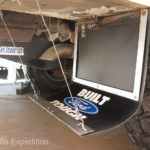
- When backing up in deep water, brush, sand or snow, quick-connect cables keep the mud flaps from being damaged by the tires.
-
- Heavy duty folding steps give us access to the top storage boxes or to clean the solar panels.

-

- When they are folded flat people and especially children don’t seem to be tempted to climb on them.
Photos by The Turtle Expedition and Chris Collard